OpenAI社が開発した「ChatGPT」は、次々と新しい機能が搭載されています。
2023年11月にリリースされたChatGPTの新しい機能「GPTs」もその一つ。
プログラミングなどの専門的な知識がなくても、ChatGPTでGPT搭載ツールが作れる機能です。
そこで、本記事ではGPTsをGmailと連携させる方法のほか、実際にメールを自動返信する手順を解説します。
ChatGPTの機能「GPTs」とは
ChatGPTの新機能「GPTs」とは、専門的な知識がなくても、GPT搭載のツールが作れる機能です。
そもそもGPTとは、独自コンテンツの作成やコードの生成など、多くの種類のタスクが実行可能な汎用言語モデルのことを指します。
従来は、専門知識を持つ人のみがGPTsと似たようなものを作れていました。
しかし、ChatGPTのGPTsはであれば専門知識不要で、オリジナルのGPTが作成できます。
また、GPTsはChatGPT-3.5では利用できず、「ChatGPT-4(GPT4)」(有料版)のみで利用できます。
GPTsを利用したい場合は、有料版に登録するのがおすすめです。
ChatGPT-4(GPT4)の登録方法や概要の詳細が気になる場合は、以下の記事も読んでみてください。
GPTsとGmailの連携方法
GPTsとGmailの連携には、まず、自動化ツールAI Actions ZapierとChatGPTを連携させる必要があります。
詳しい手順は、次のとおりです。
それぞれのSTEPを見ていきましょう。
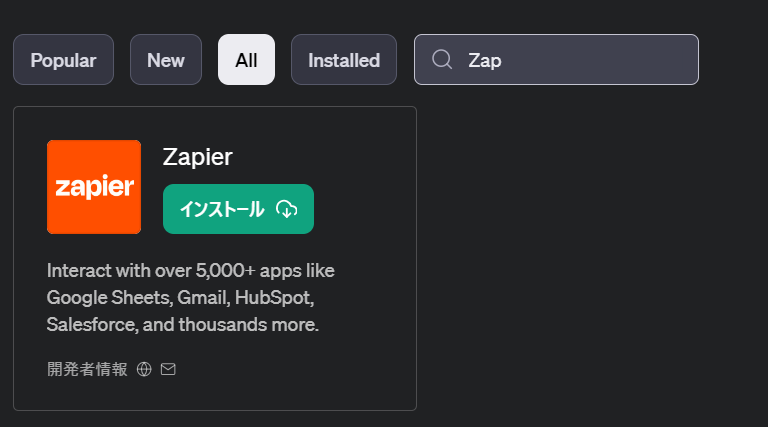
STEP1:自動化ツールZapierとChatGPTを連携する
ChatGPTにログインし、プラグイン「Zapier」をインストールしておいてください。
プラグインのインストール方法の詳細が知りたい方は、以下の記事もおすすめです。
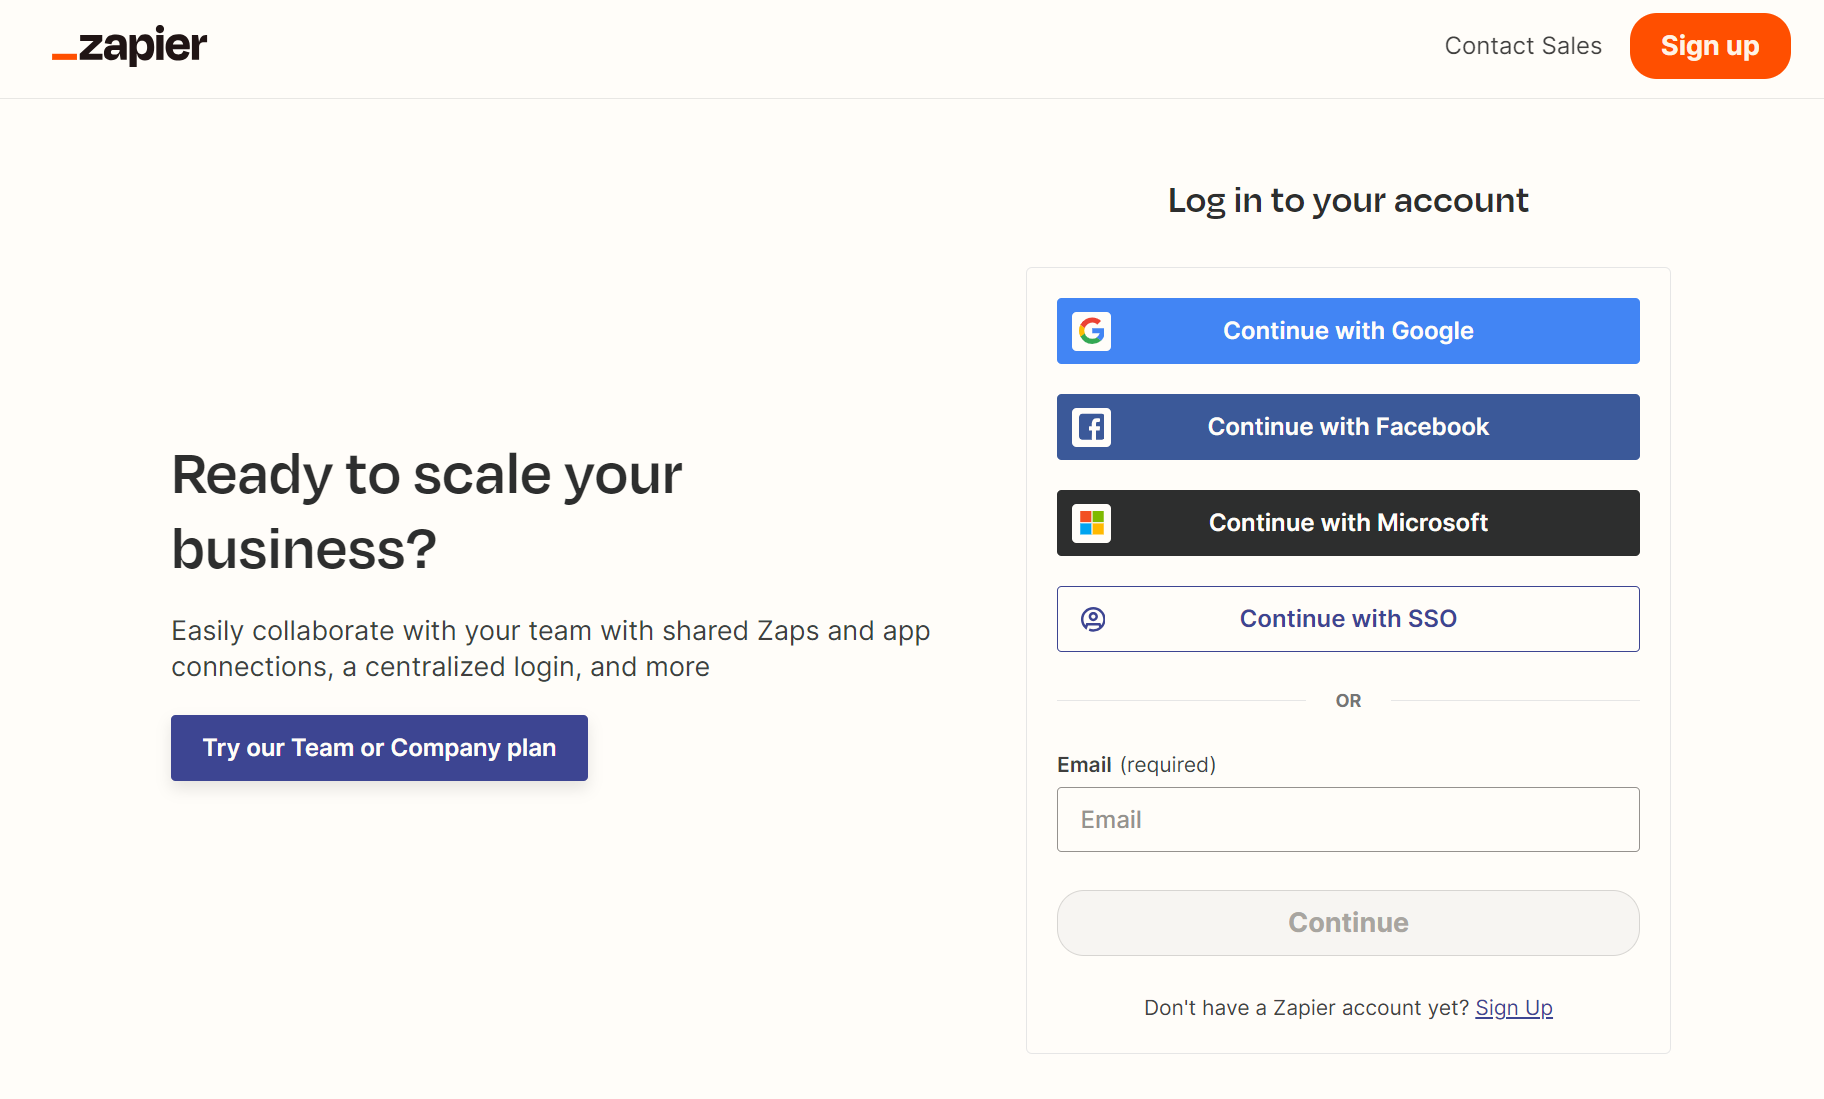
AI Actions Zapierの登録ページにアクセスし、Zapierに連携するアカウントを選ぶか、Emailアドレスを入力してください。
今回は、Googleアカウントと連携するパターンで解説します。
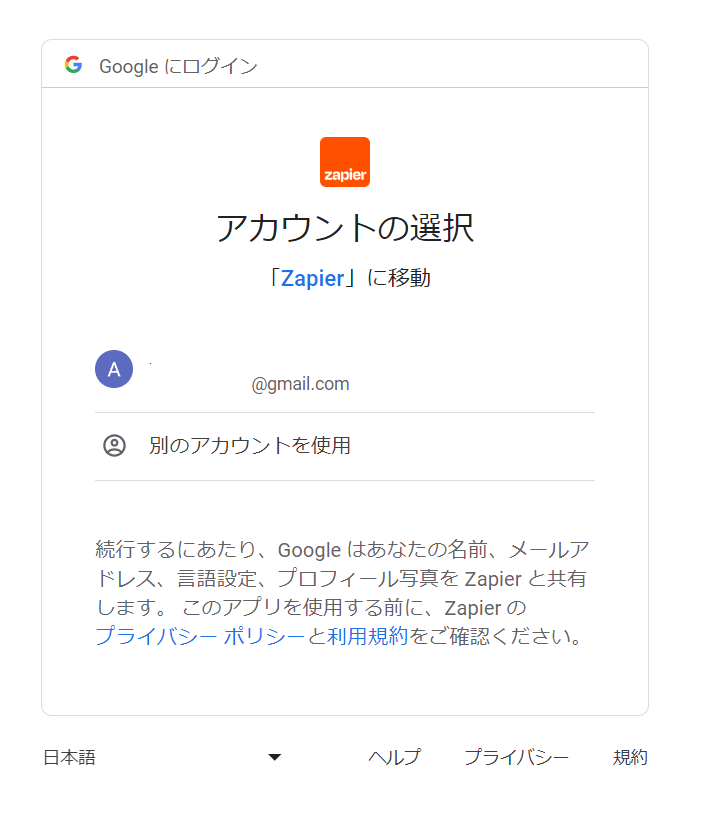
連携したいGoogleアカウントをクリックしてください。
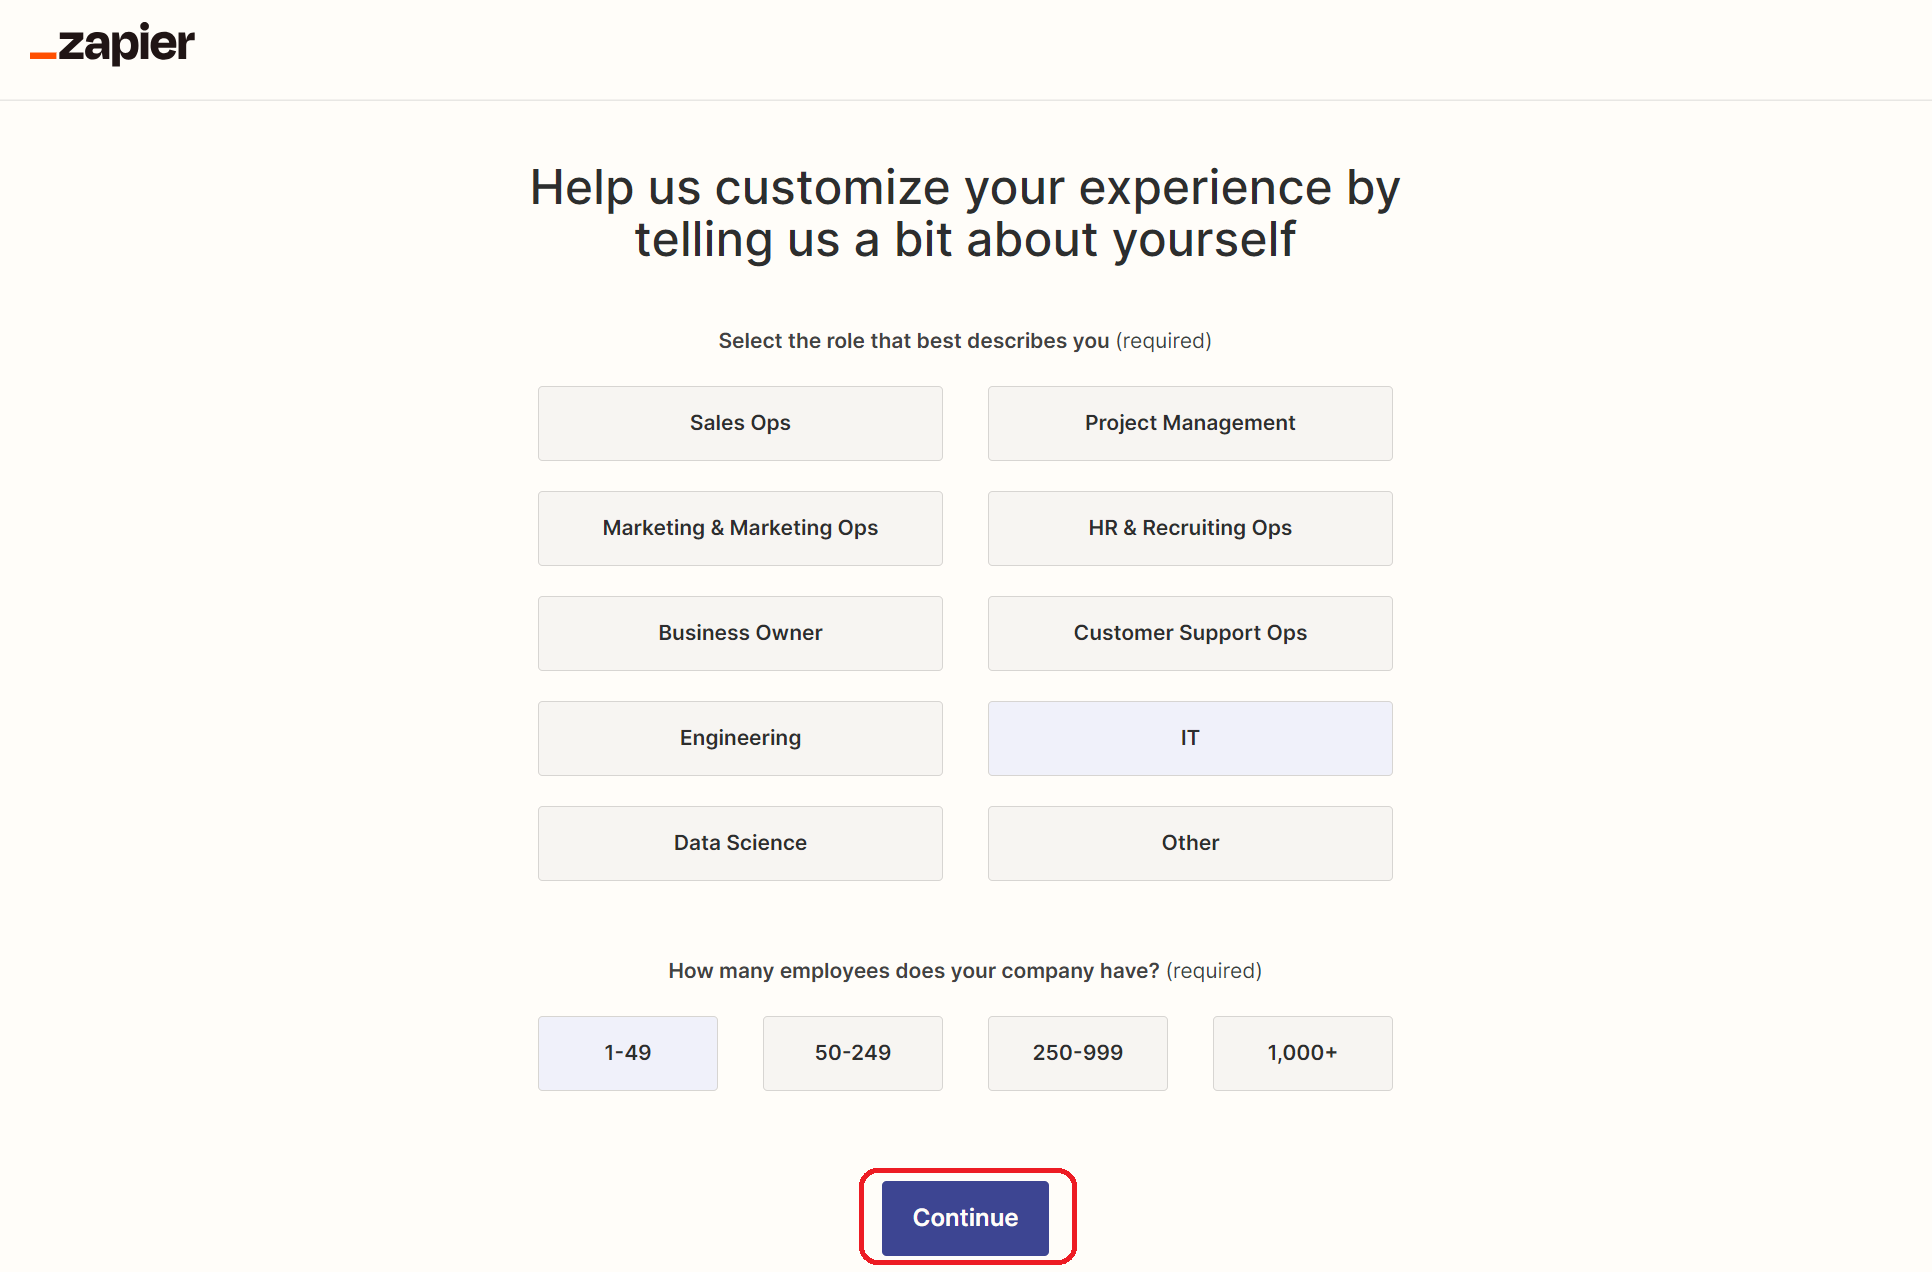
選択肢から事業内容と従業員数を選んで、「Continue」をクリックしてください。
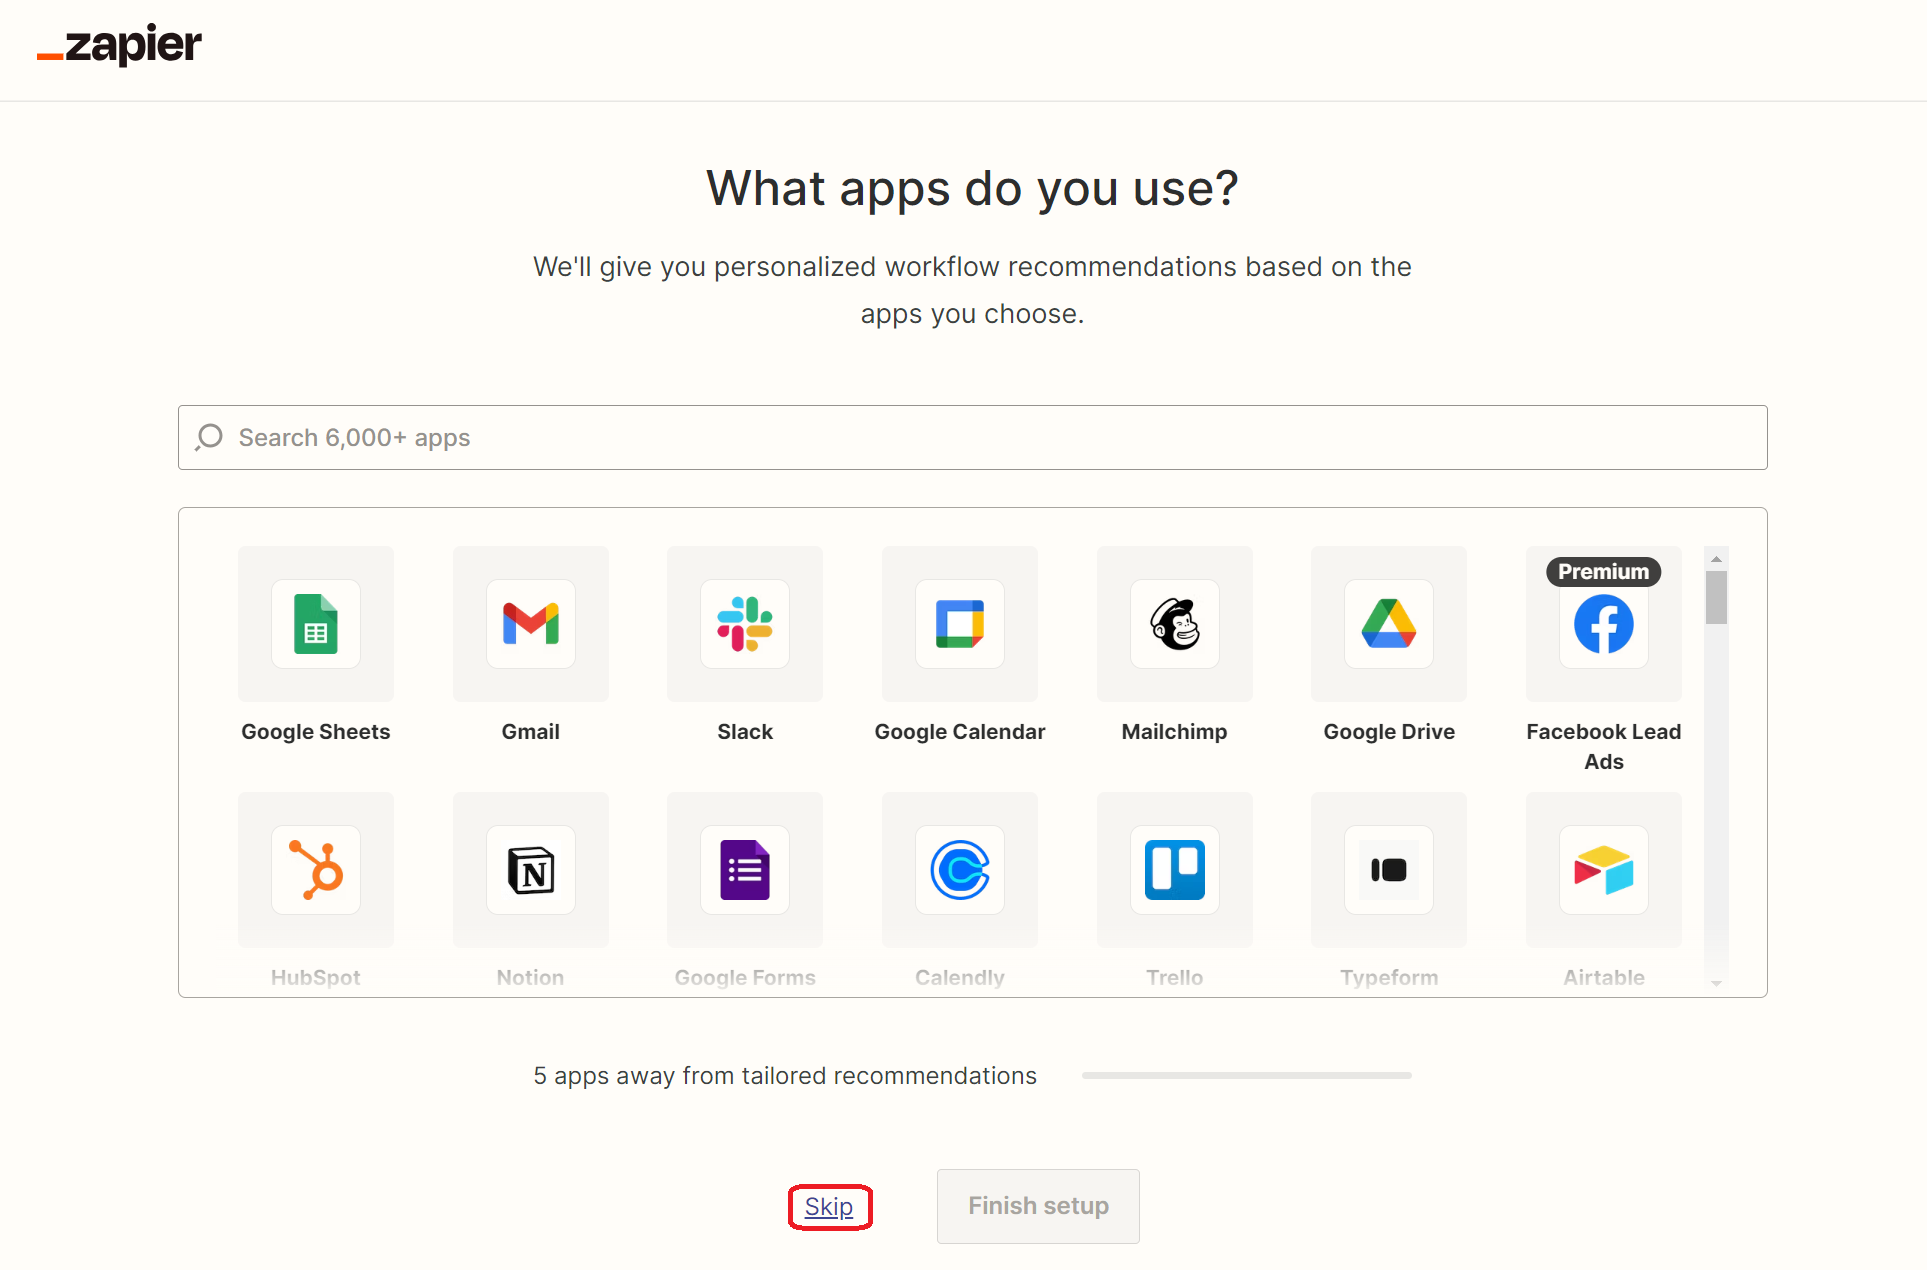
使うアプリを選ぶ画面が表示されますが、ここでは「Skip」をクリックして次に進みます。
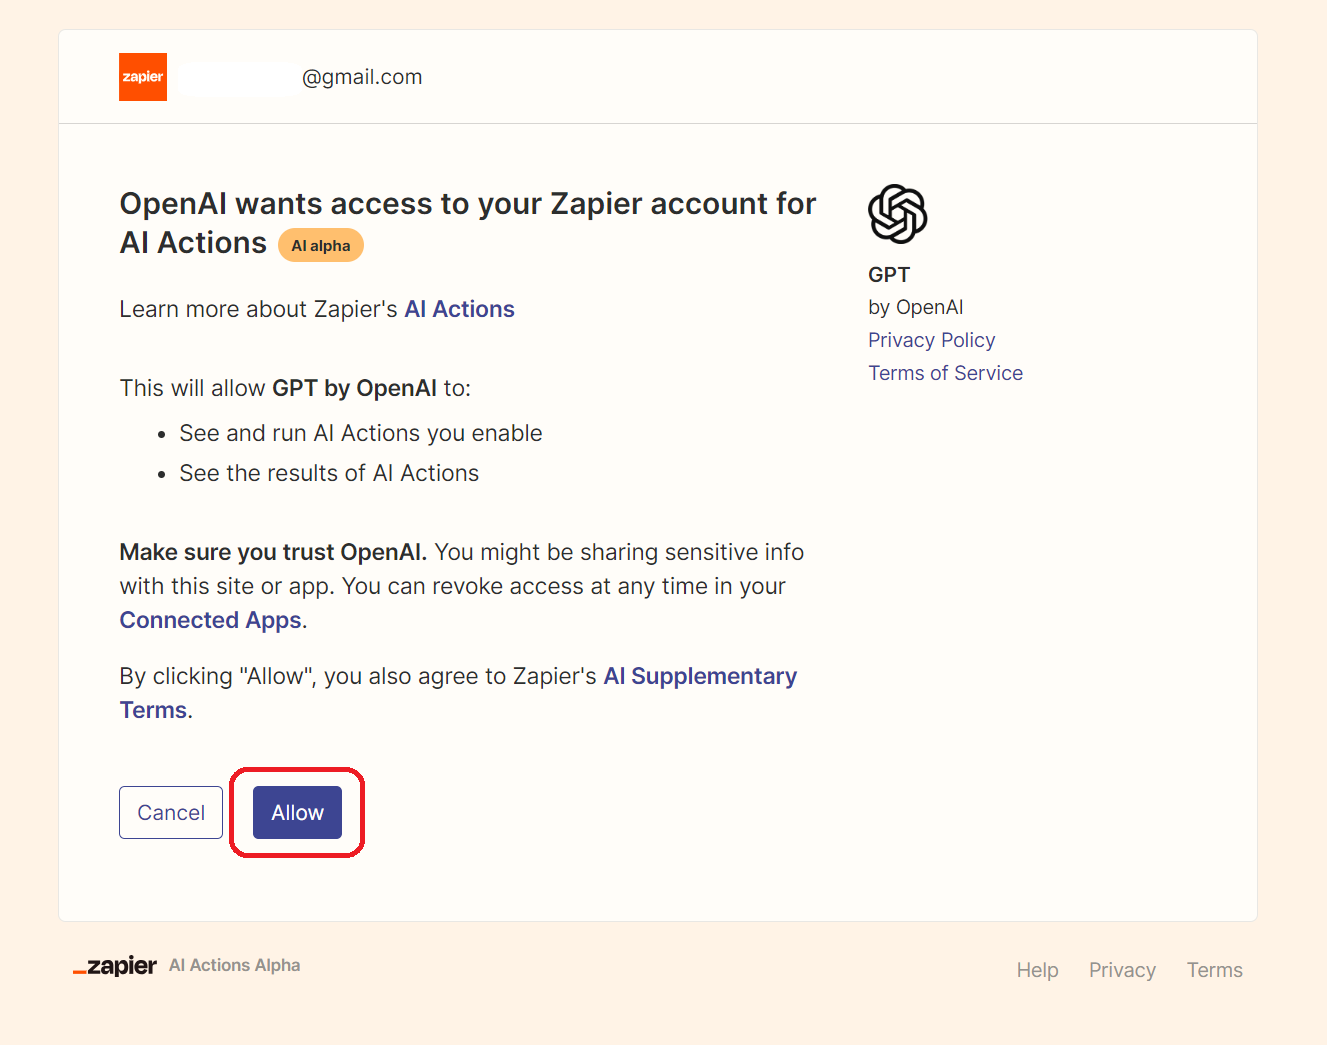
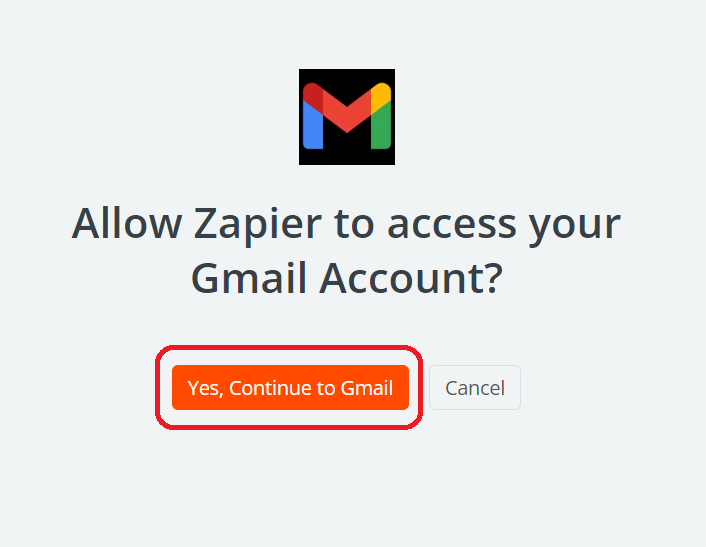
次の画面では「Allow」をクリックして、ChatGPTとの連携を許可すれば、設定完了です。
Zapierに登録する前に、ChatGPTにログインしておくと連携がスムーズです。
ログイン方法から確認したい場合は、以下の記事も読んでみてください。
STEP2:「Configure」タブでGmailと連携させる
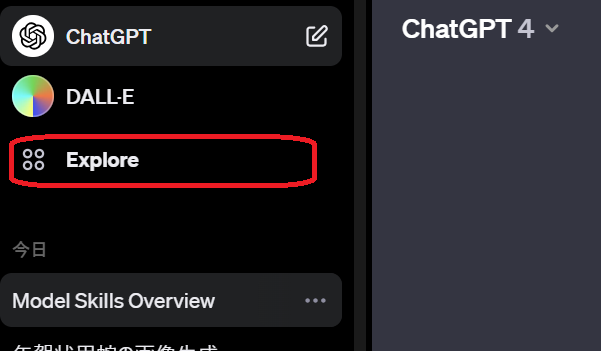
ChatGPTのホーム画面で、左上の「Explore」をクリックしてください。
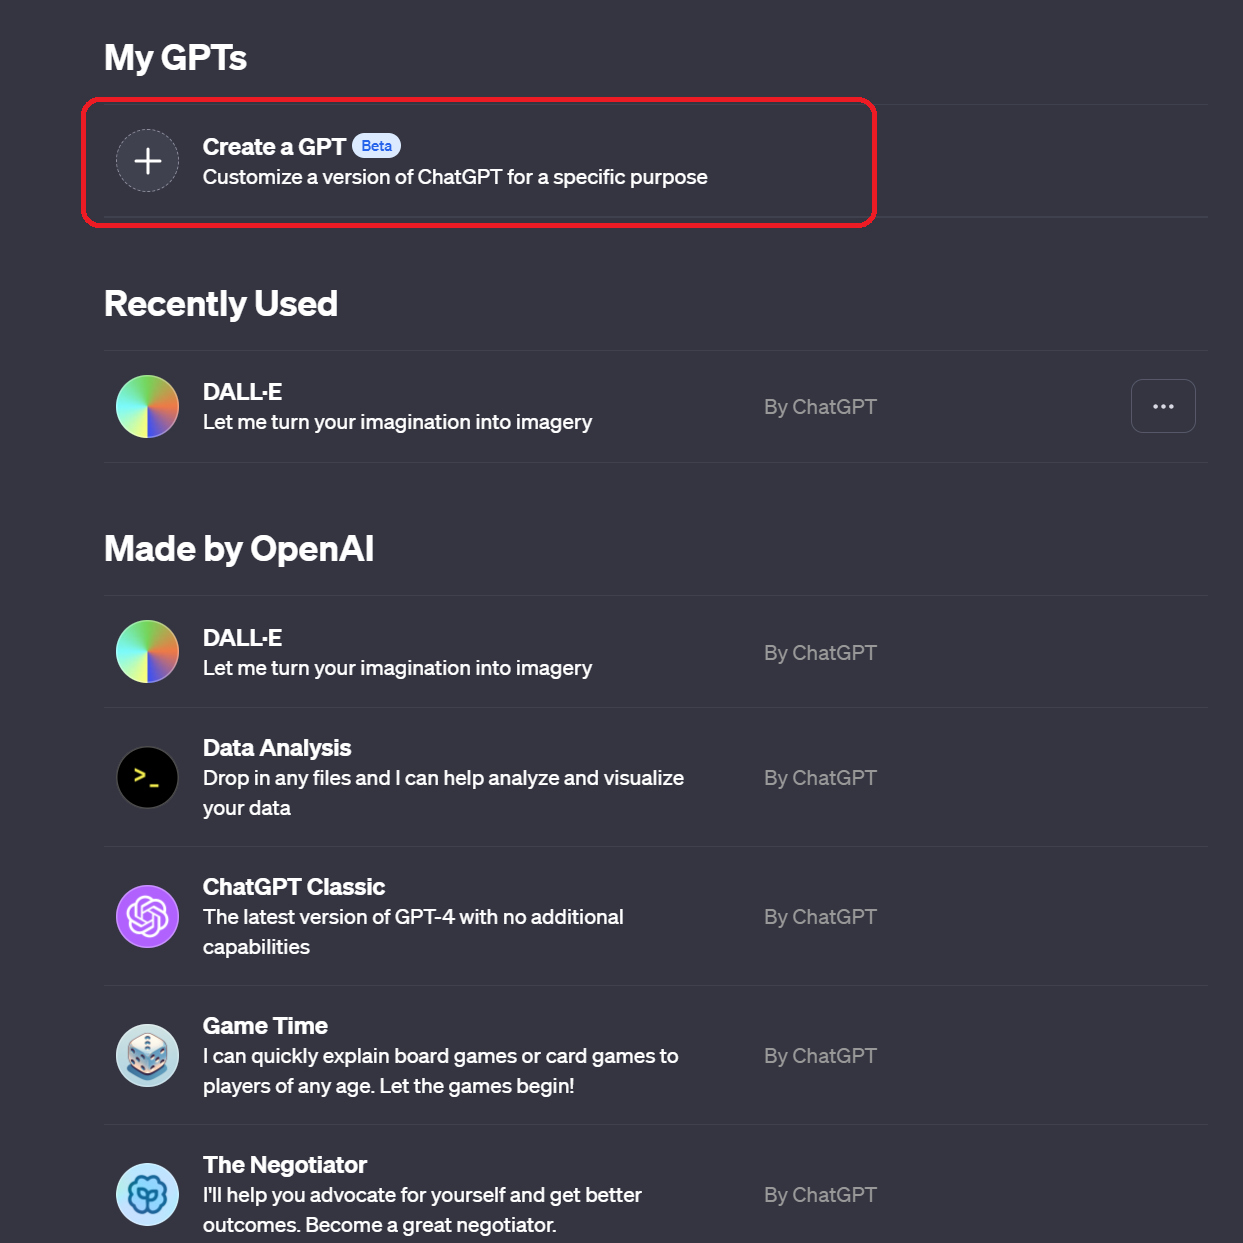
次に表示される「My GPTs」の「Create a GPT」の左横にある「+」アイコンをクリックします。
「Create」画面の右横にある「Configure」タブに切り替えておいてください。
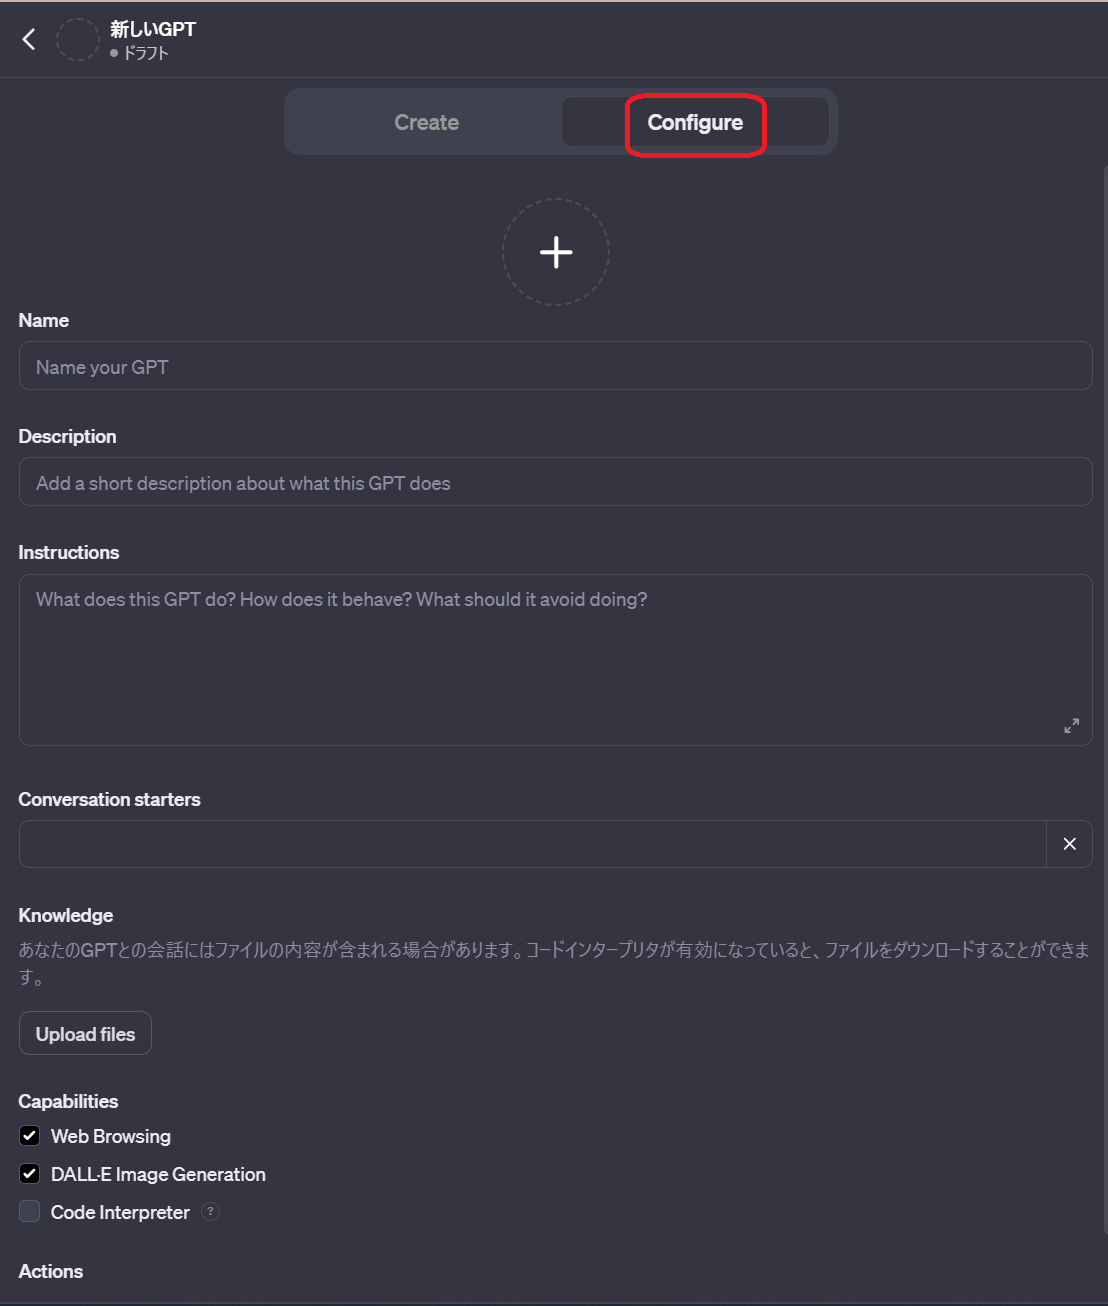
「Configure」タブ内で確認・設定できる内容は、以下のとおりです。
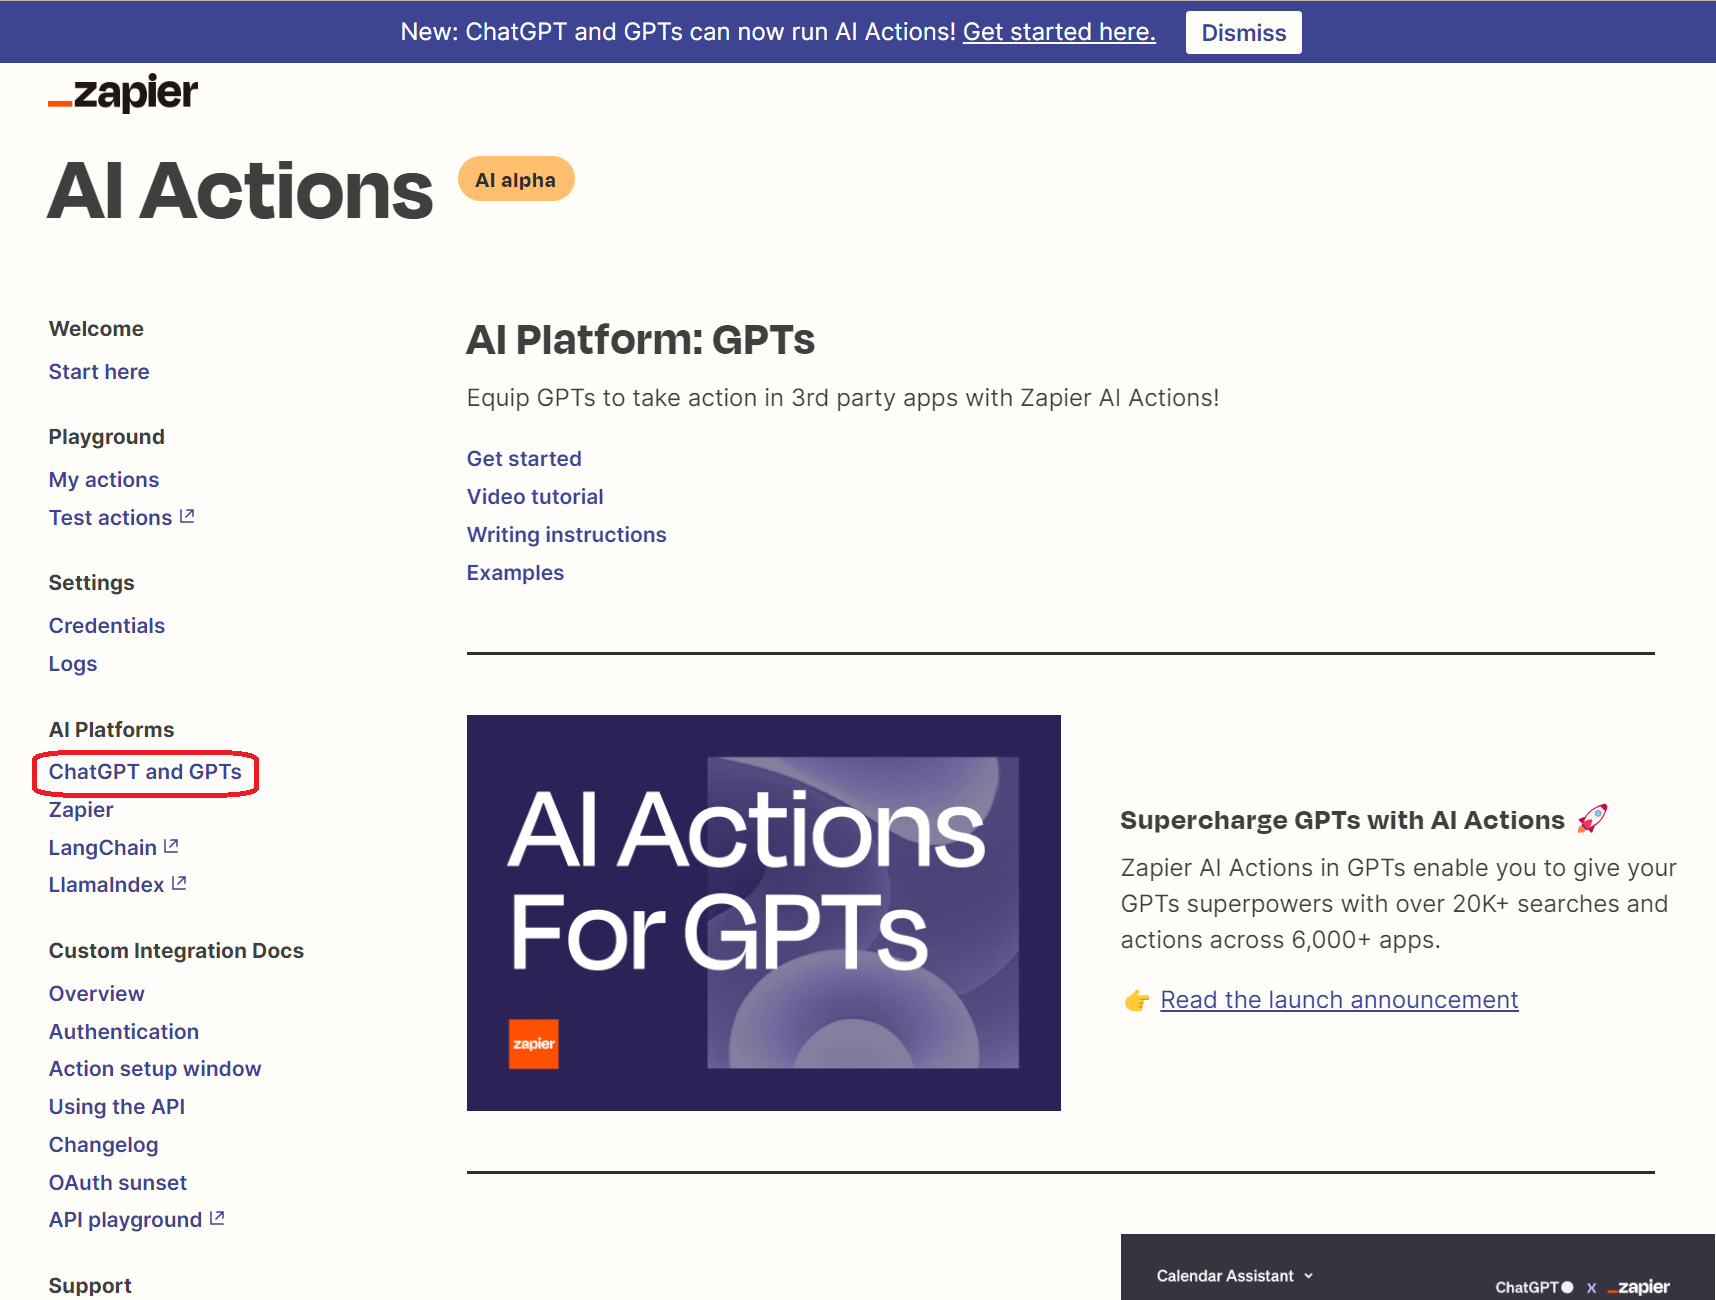
AI Actions Zapierにアクセスし、「ChatGPT and GPTs」を選択します。
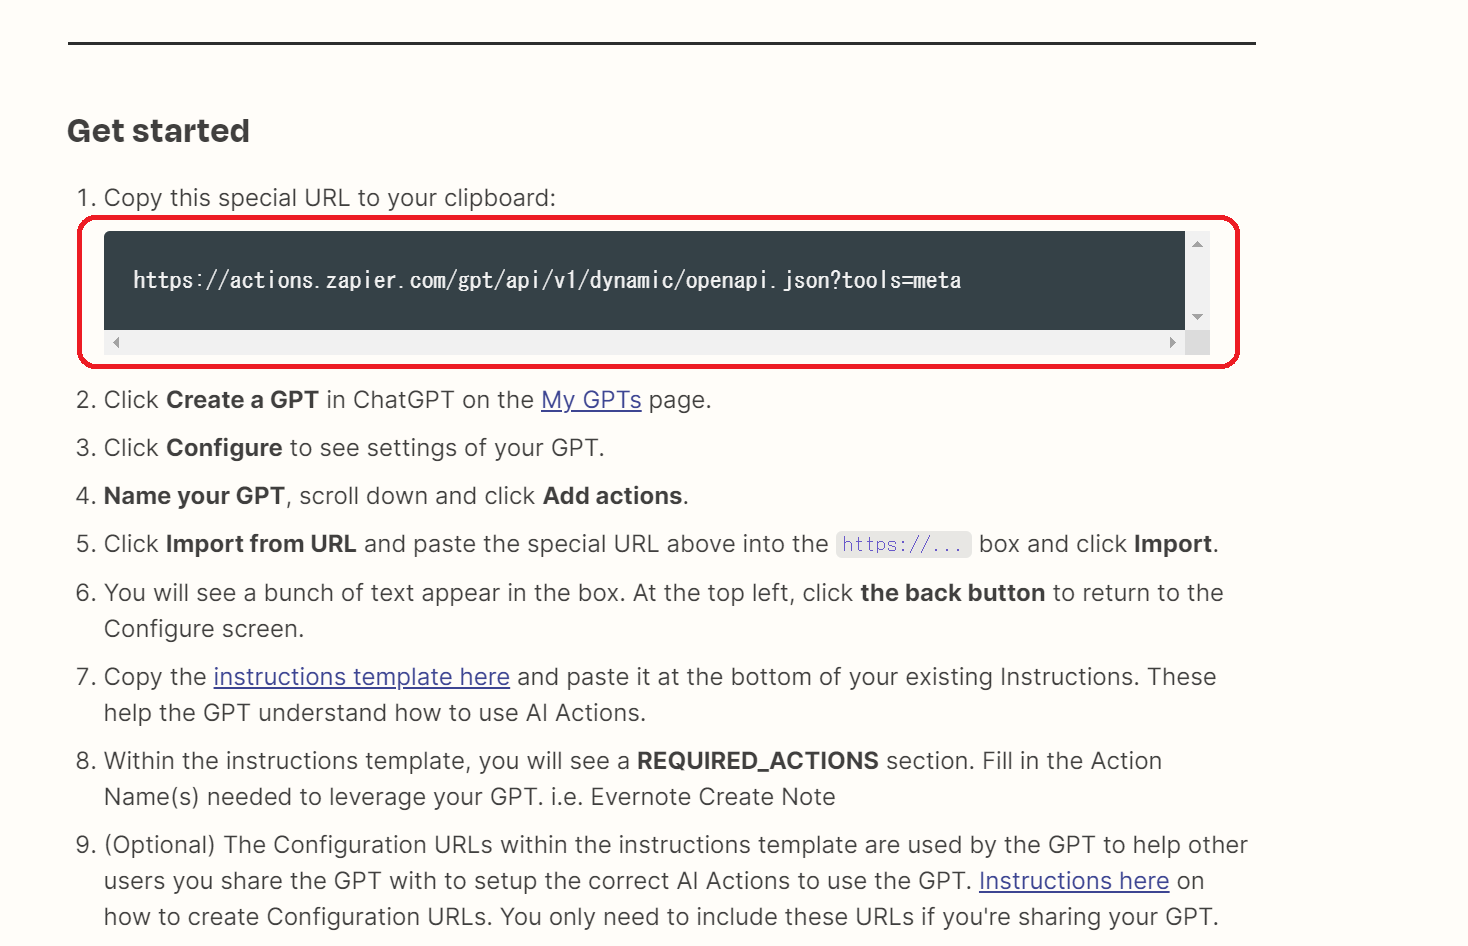
次の画面に表示されている、以下のURLをコピーします。
https://actions.zapier.com/gpt/api/v1/dynamic/openapi.json?tools=meta
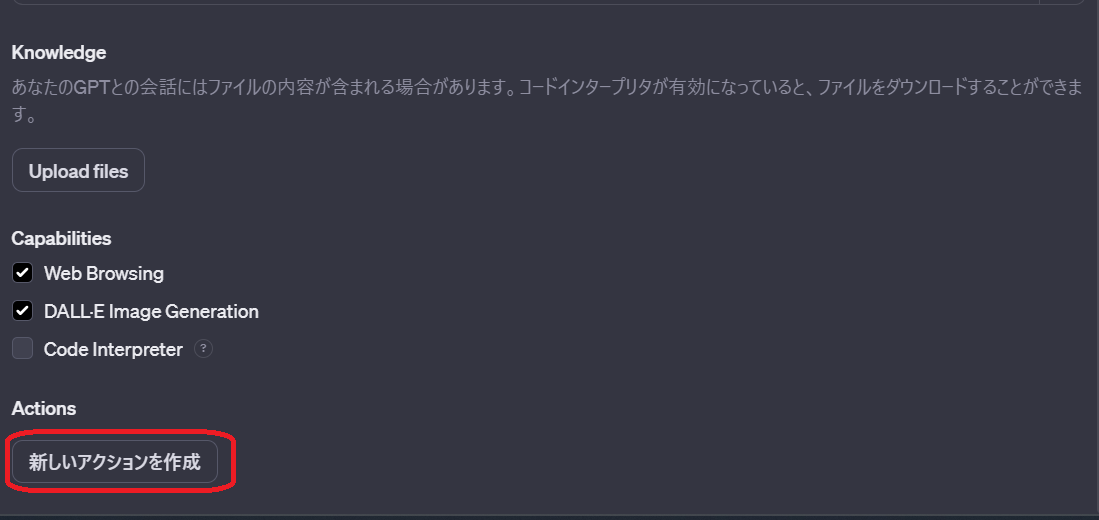
ChatGPTの「Configure」画面に戻り、「新しいアクションを作成」をクリックしてください。
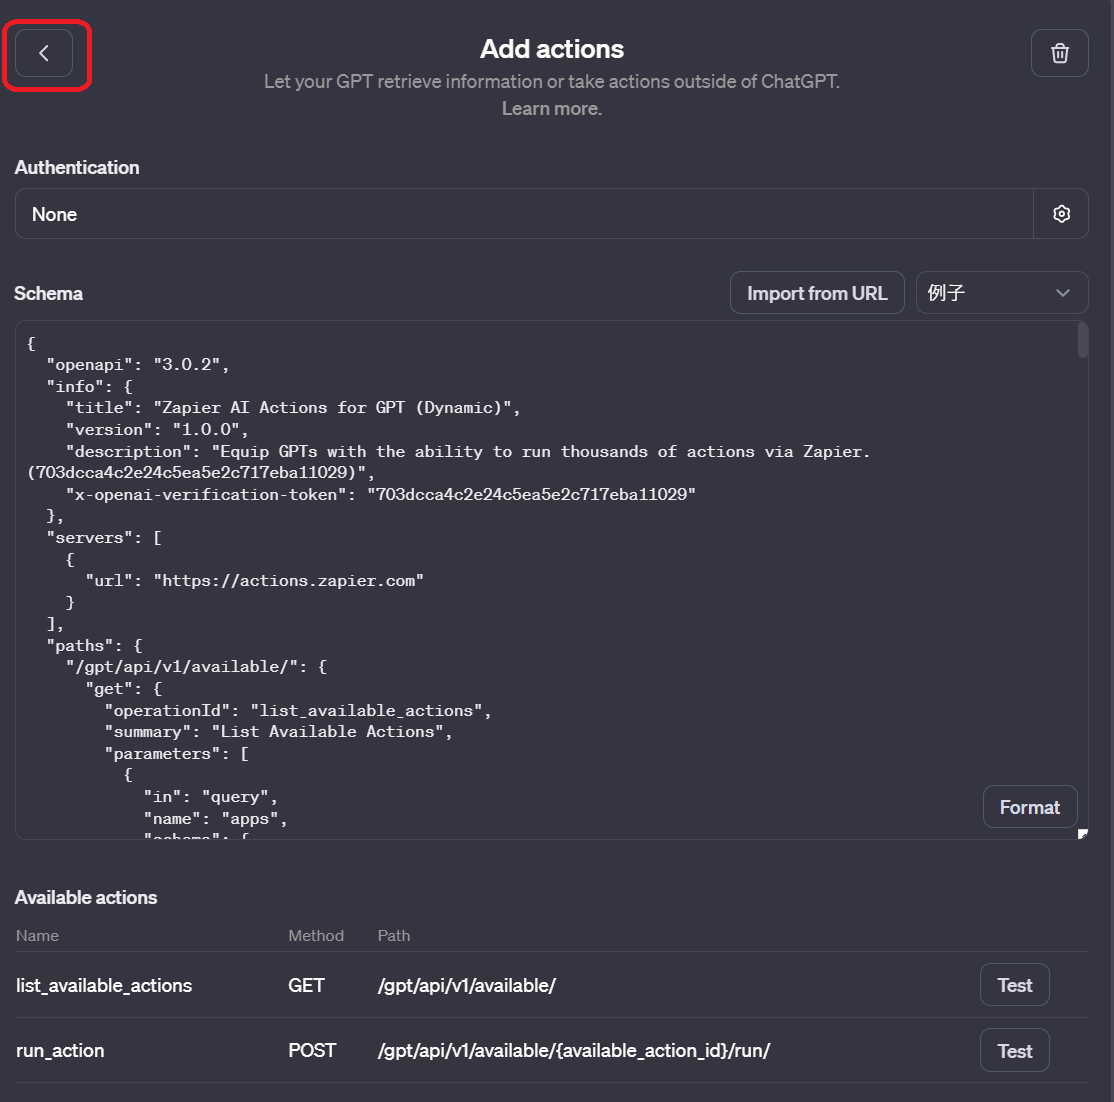
コピーしたURLを貼り付け、「Import」をクリックしてください。
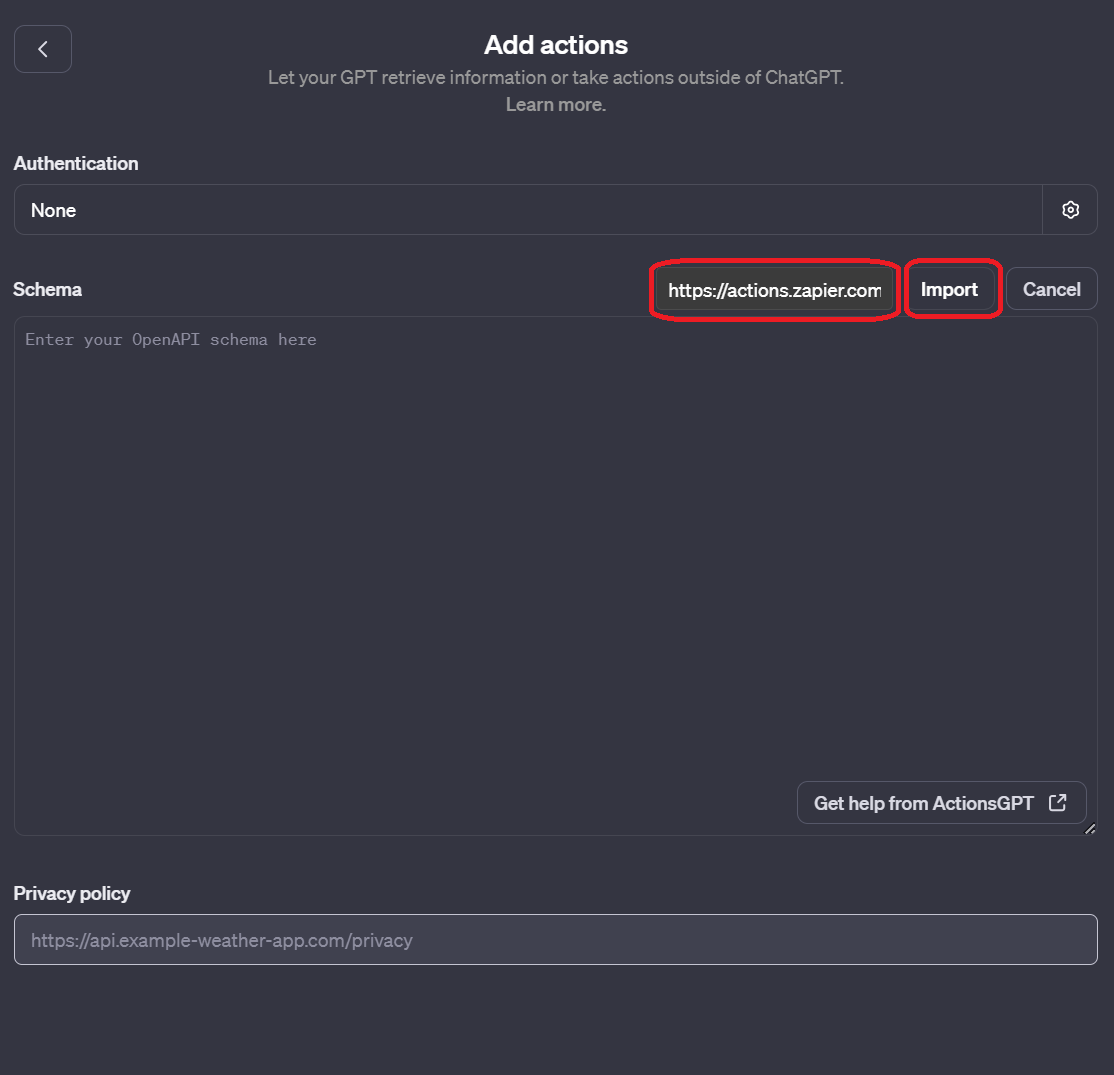
URLの貼り付けが完了したら、左上の矢印ボタンをクリックして「Configure」画面に戻ります。
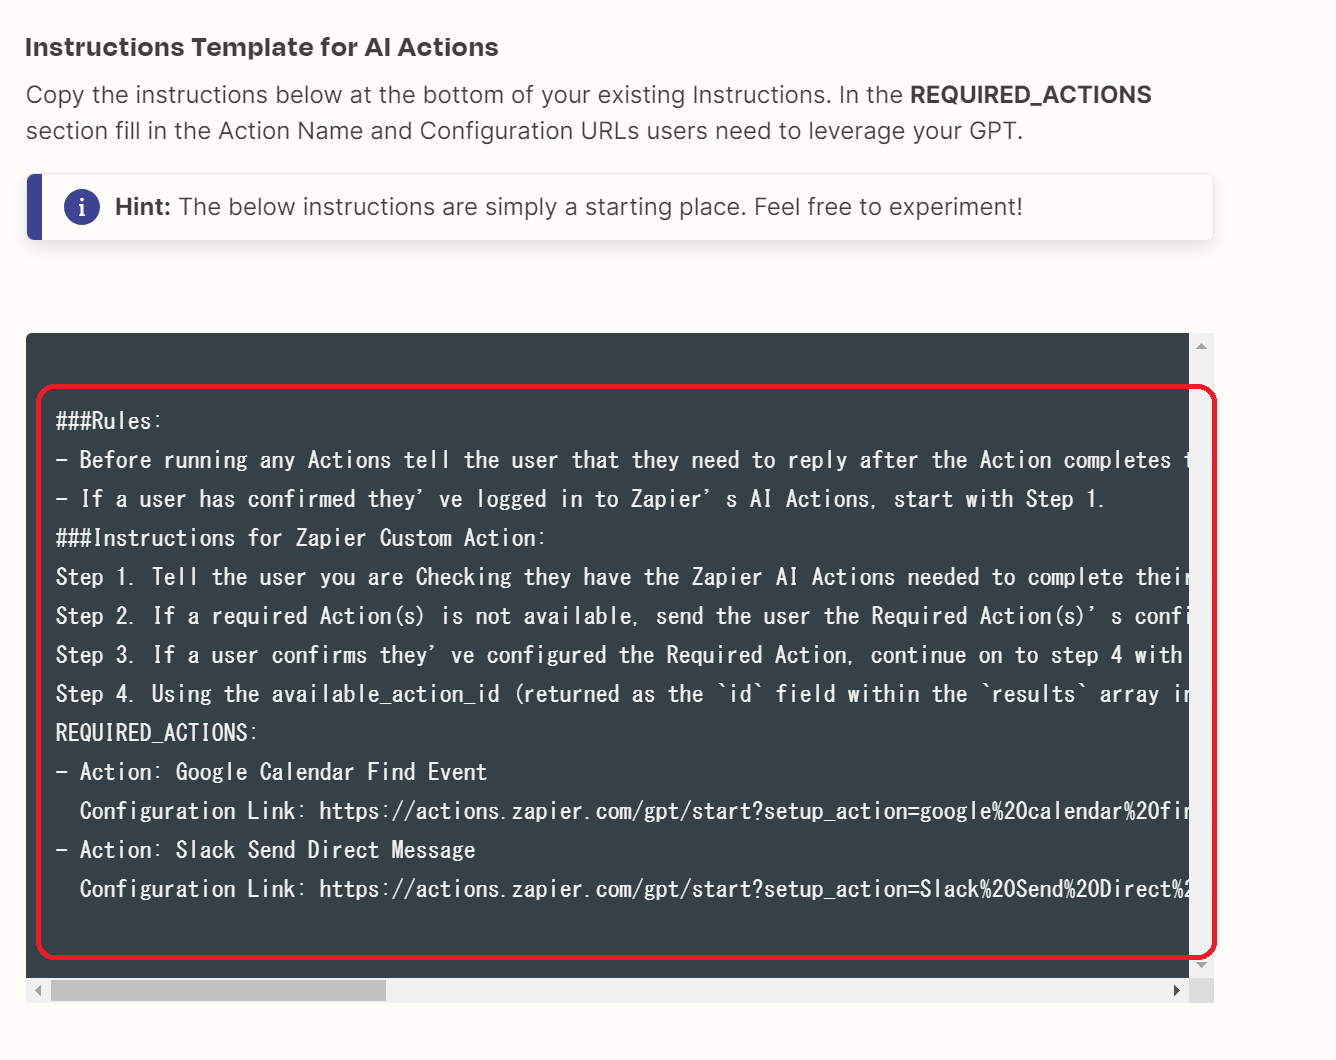
別タブで開いているAI Actions Zapierの「ChatGPT and GPTs」ページに戻り、以下のコードをコピーします。
###Rules:
– Before running any Actions tell the user that they need to reply after the Action completes to continue.
– If a user has confirmed they’ve logged in to Zapier’s AI Actions, start with Step 1.
###Instructions for Zapier Custom Action:
Step 1. Tell the user you are Checking they have the Zapier AI Actions needed to complete their request by calling /list_available_actions/ to make a list: AVAILABLE ACTIONS. Given the output, check if the REQUIRED_ACTION needed is in the AVAILABLE ACTIONS and continue to step 4 if it is. If not, continue to step 2.
Step 2. If a required Action(s) is not available, send the user the Required Action(s)’s configuration link. Tell them to let you know when they’ve enabled the Zapier AI Action.
Step 3. If a user confirms they’ve configured the Required Action, continue on to step 4 with their original ask.
Step 4. Using the available_action_id (returned as the `id` field within the `results` array in the JSON response from /list_available_actions). Fill in the strings needed for the run_action operation. Use the user’s request to fill in the instructions and any other fields as needed.
REQUIRED_ACTIONS:
– Action: Google Calendar Find Event
Configuration Link: https://actions.zapier.com/gpt/startsetup_action=google%20calendar%20find%20event&setup_params=set%20have%20AI%20guess%20for%20Start%20and%20End%20time
– Action: Slack Send Direct Message
Configuration Link: https://actions.zapier.com/gpt/startsetup_action=Slack%20Send%20Direct%20Message
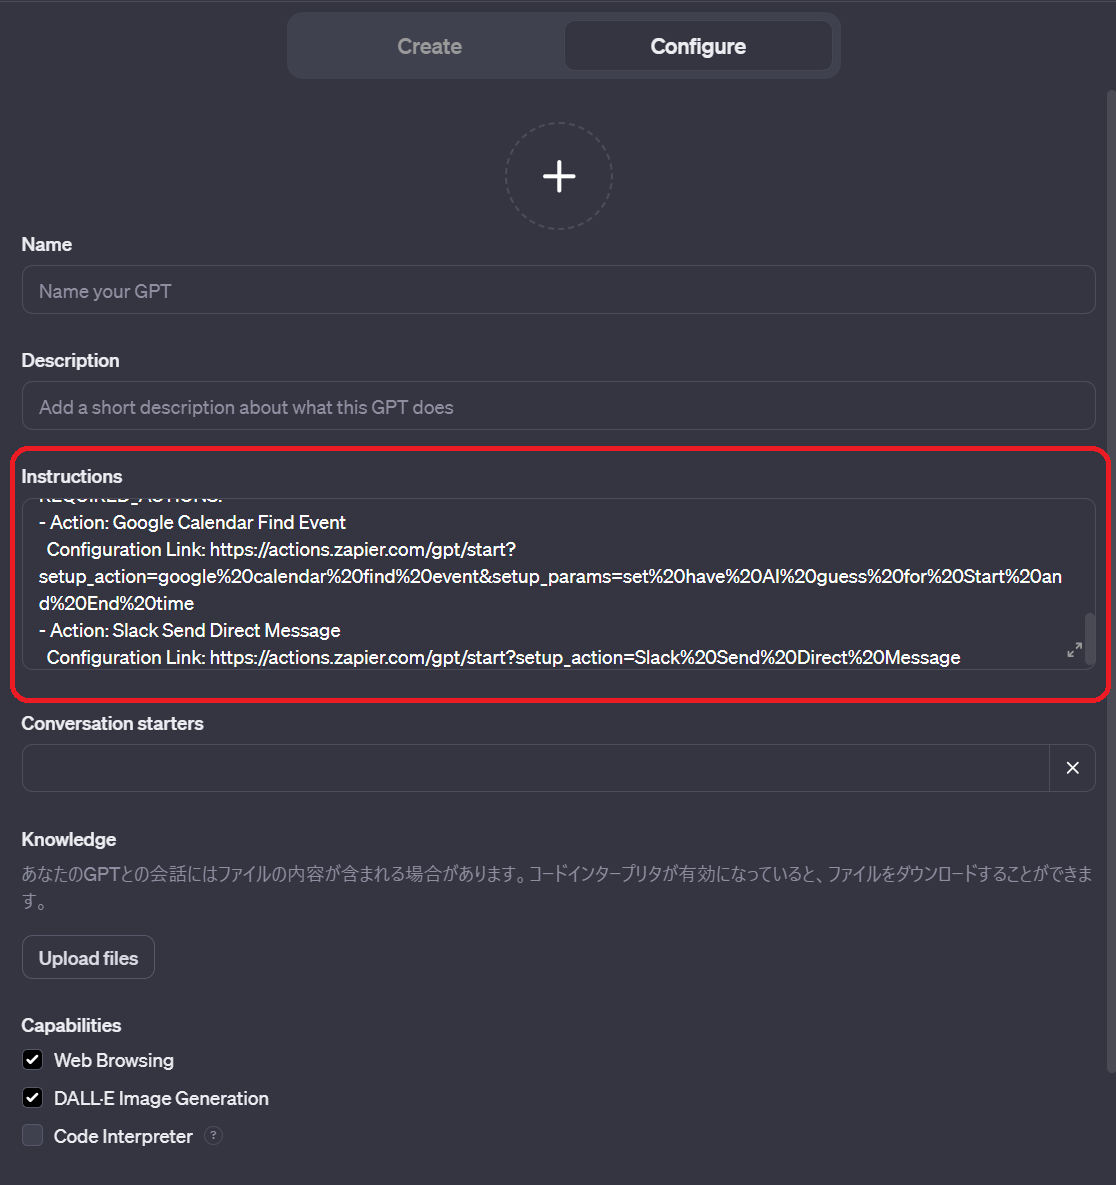
ChatGPTの「Configure」画面に戻り、コピーしたURLを「Instructions」に貼り付けます。
このとき、「REQUIRED_ACTIONS:」より下の段のテキストは削除します。
※後で正しいものを入力します。
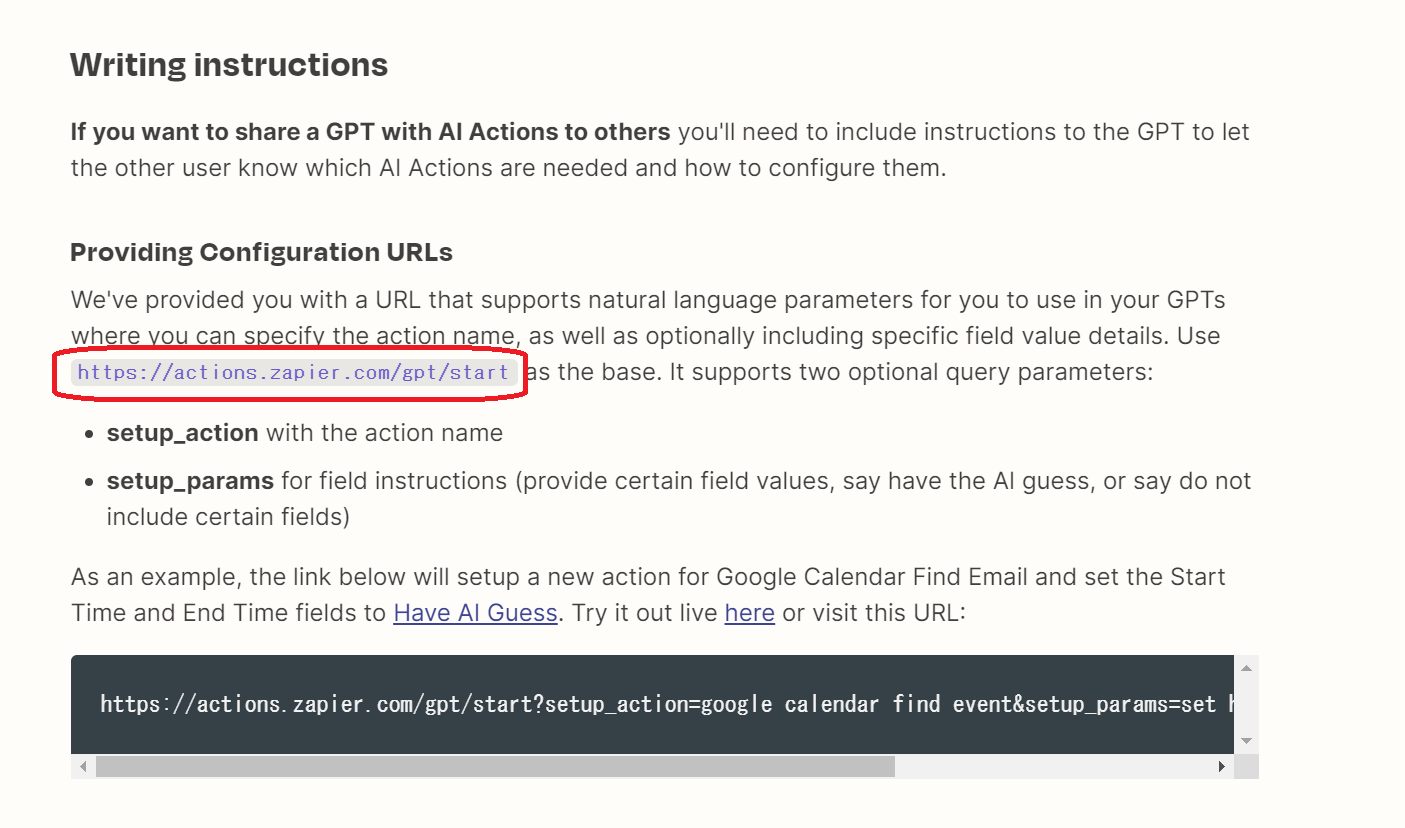
別タブで開いているAI Actions Zapierの「ChatGPT and GPTs」ページから以下のリンクをコピーし、ページにアクセスします。
https://actions.zapier.com/gpt/start
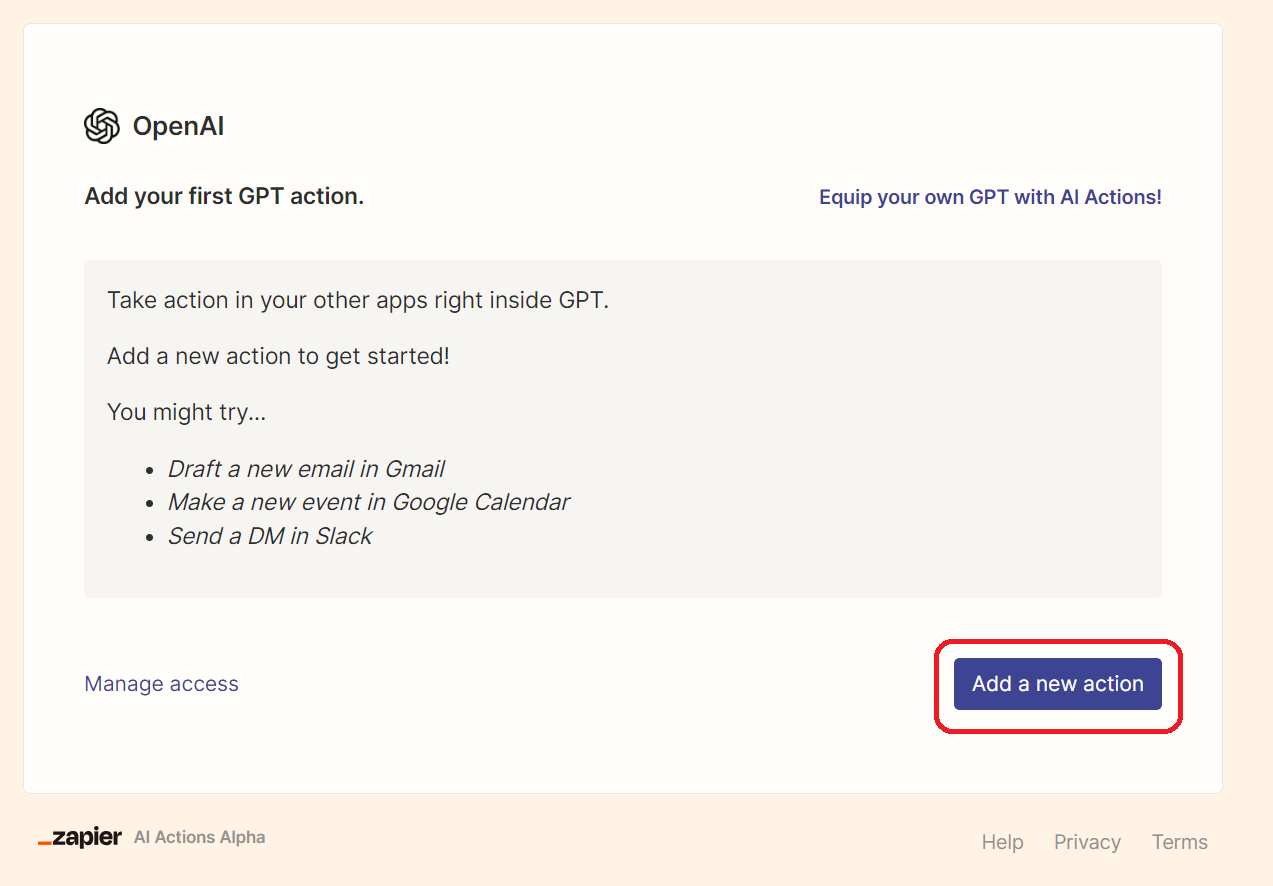
「Add a new action」をクリックし、追加するアクションを選ぶ画面に移ります。
検索画面で「Gmail」と入力し、追加したいGmailのアクションを選びます。
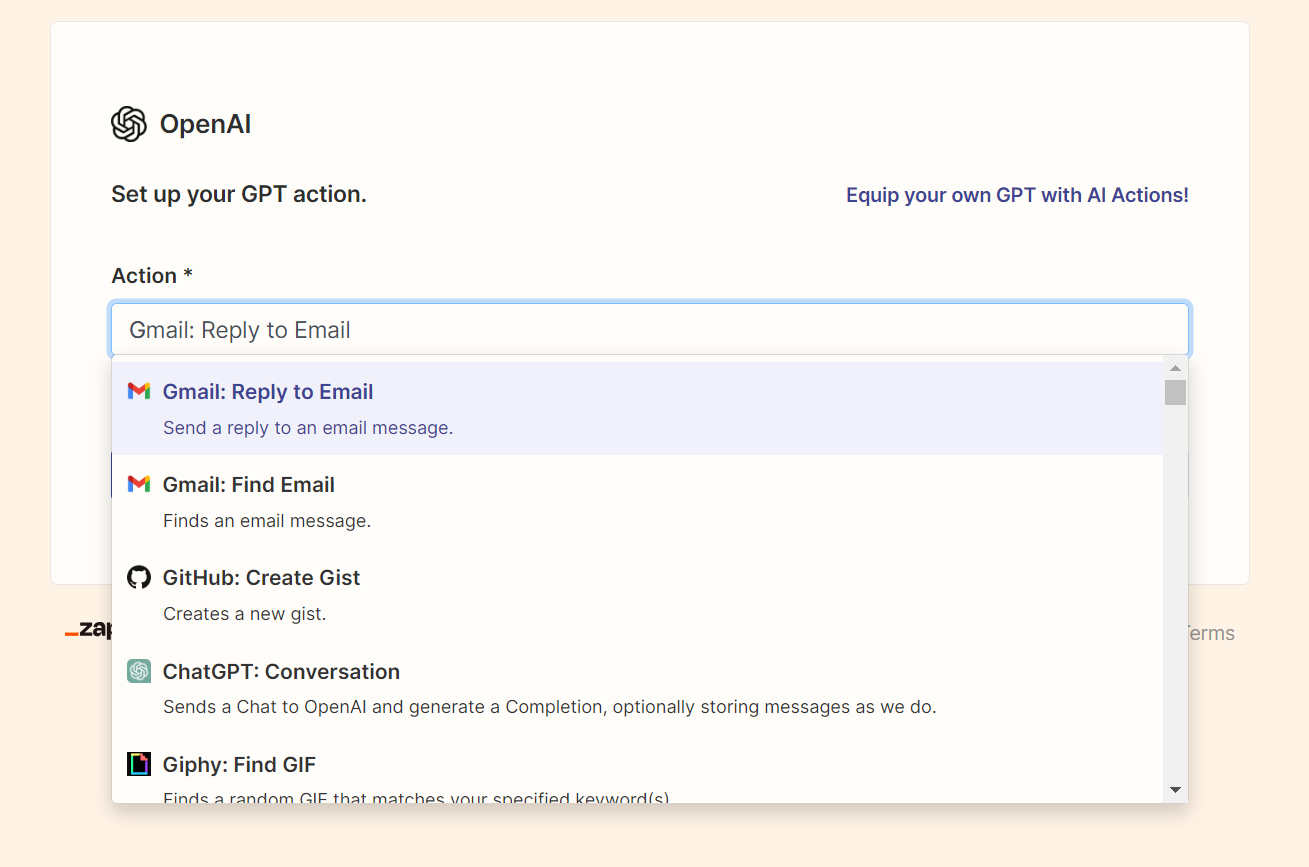
2023年12月時点でのGoogle Gmailのアクションは、以下2つです。
「Connect a new Gmail account」を選択します。
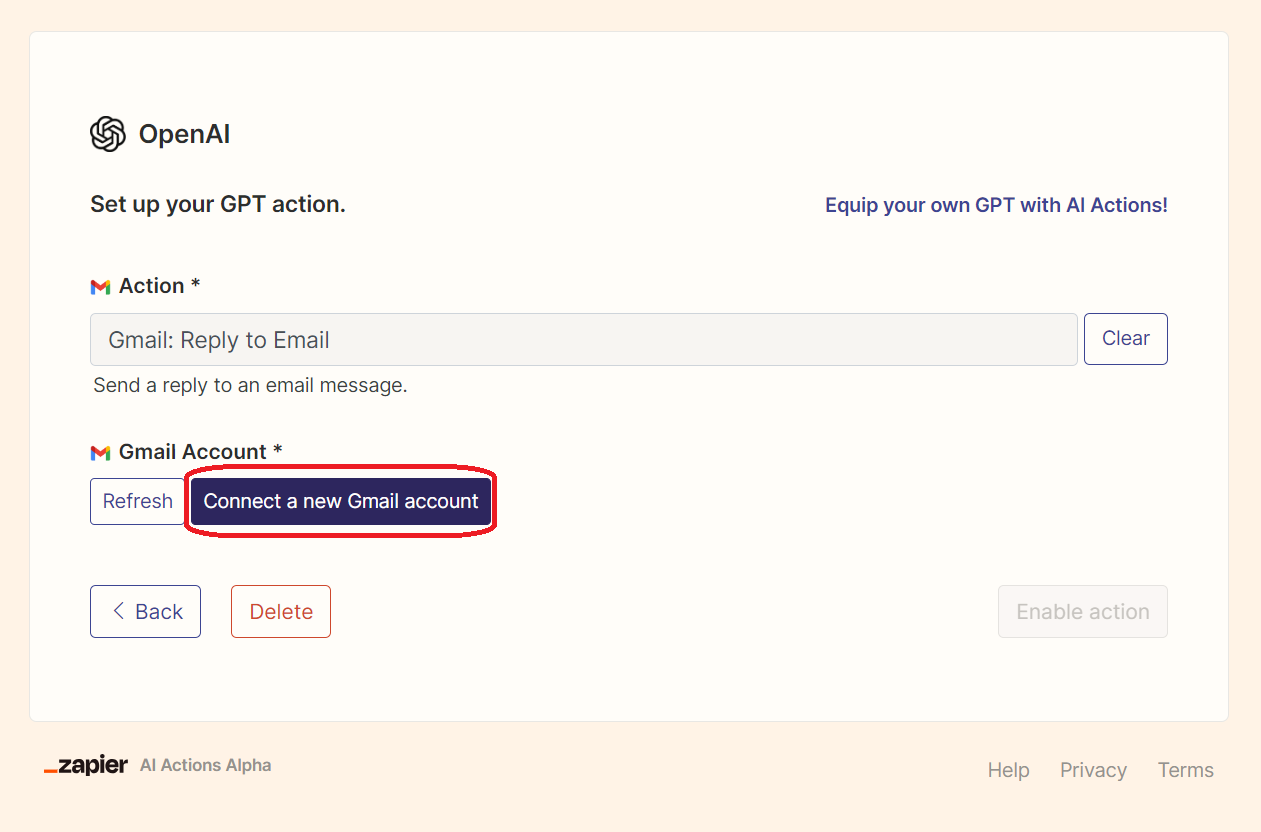
Gmailと連携画面に進みます。
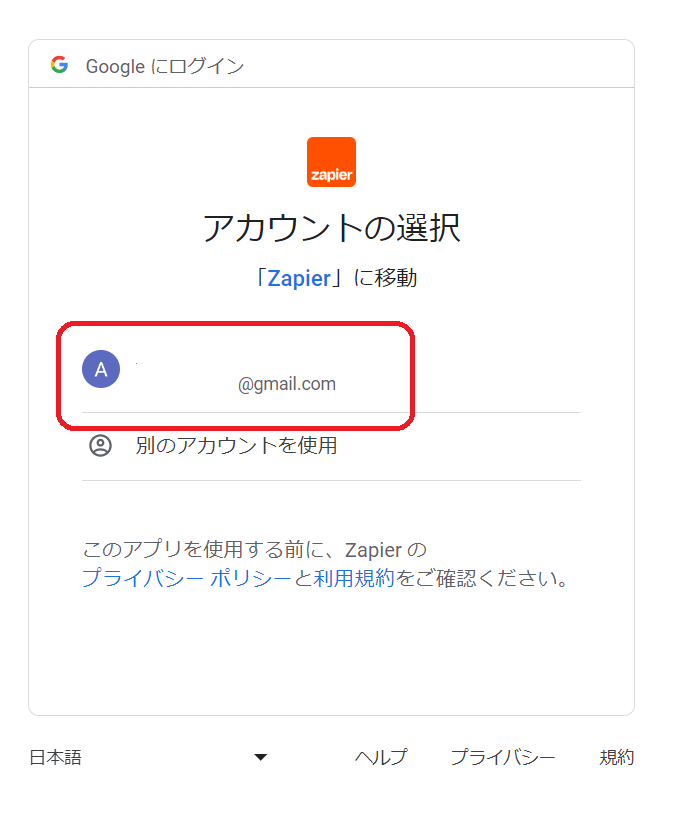
連携させるGoogle CalenderのGoogleアカウントを選択します。
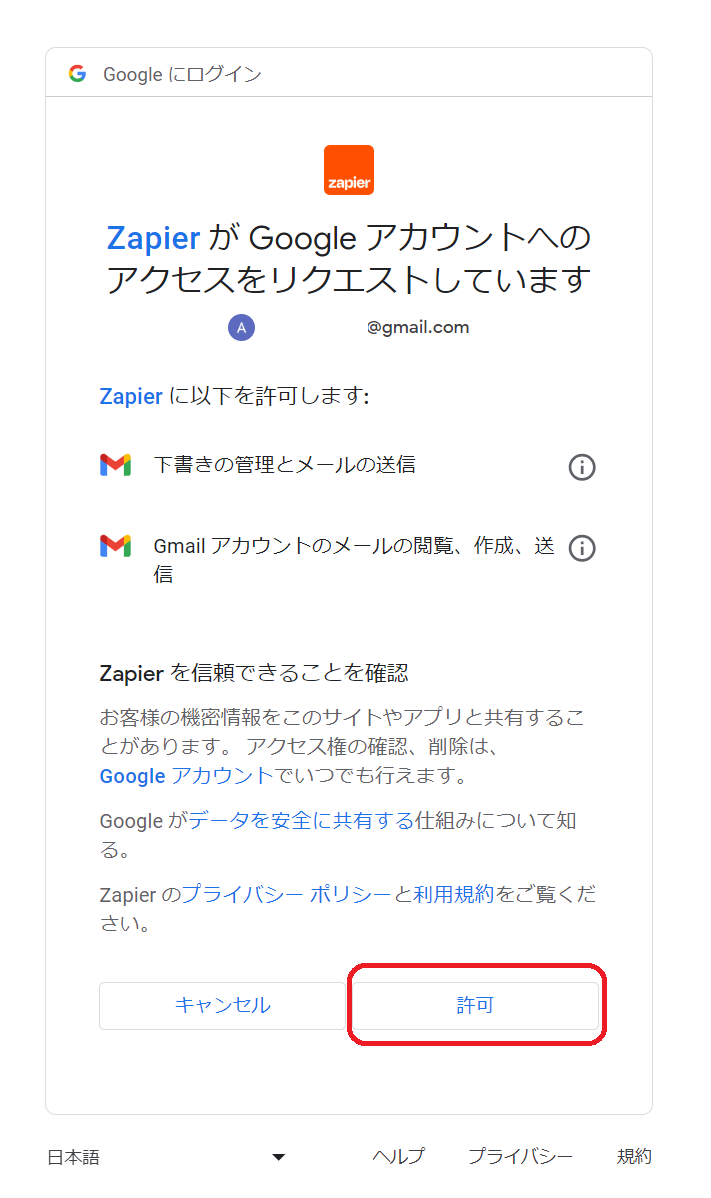
アクセスを認証するために、「許可」をクリックします。
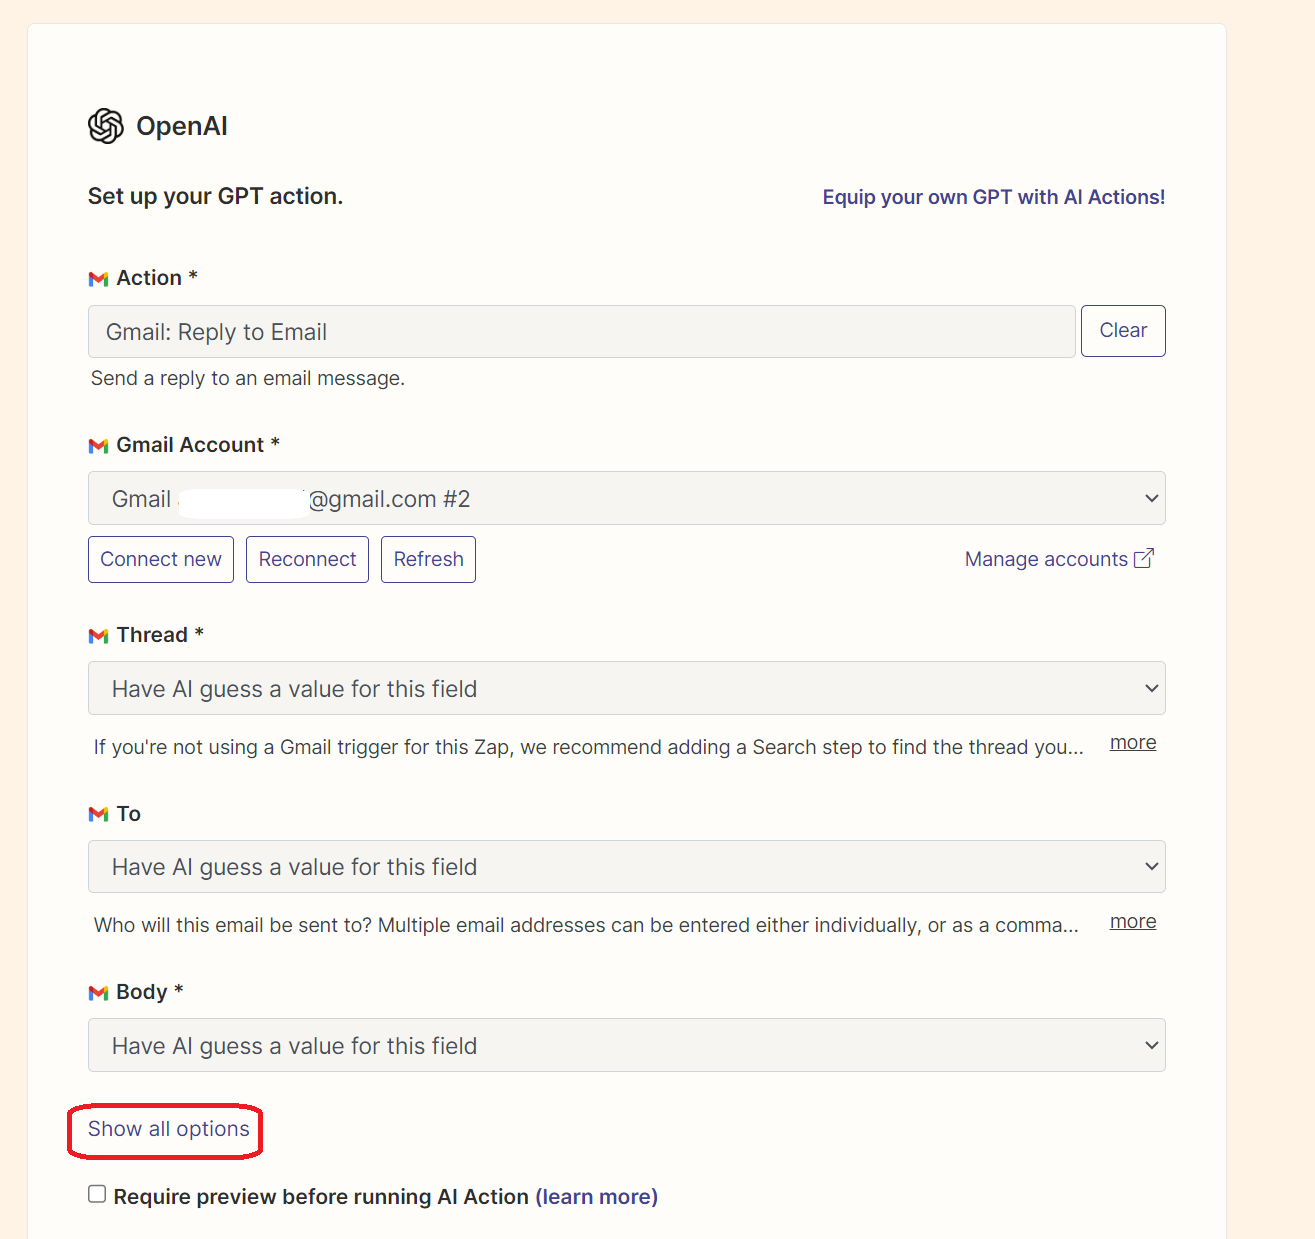
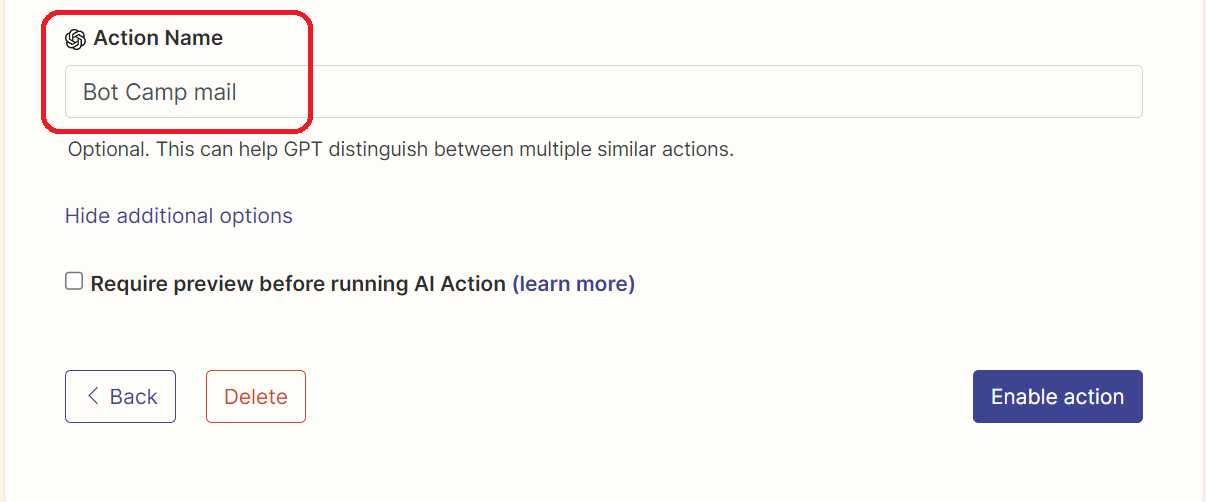
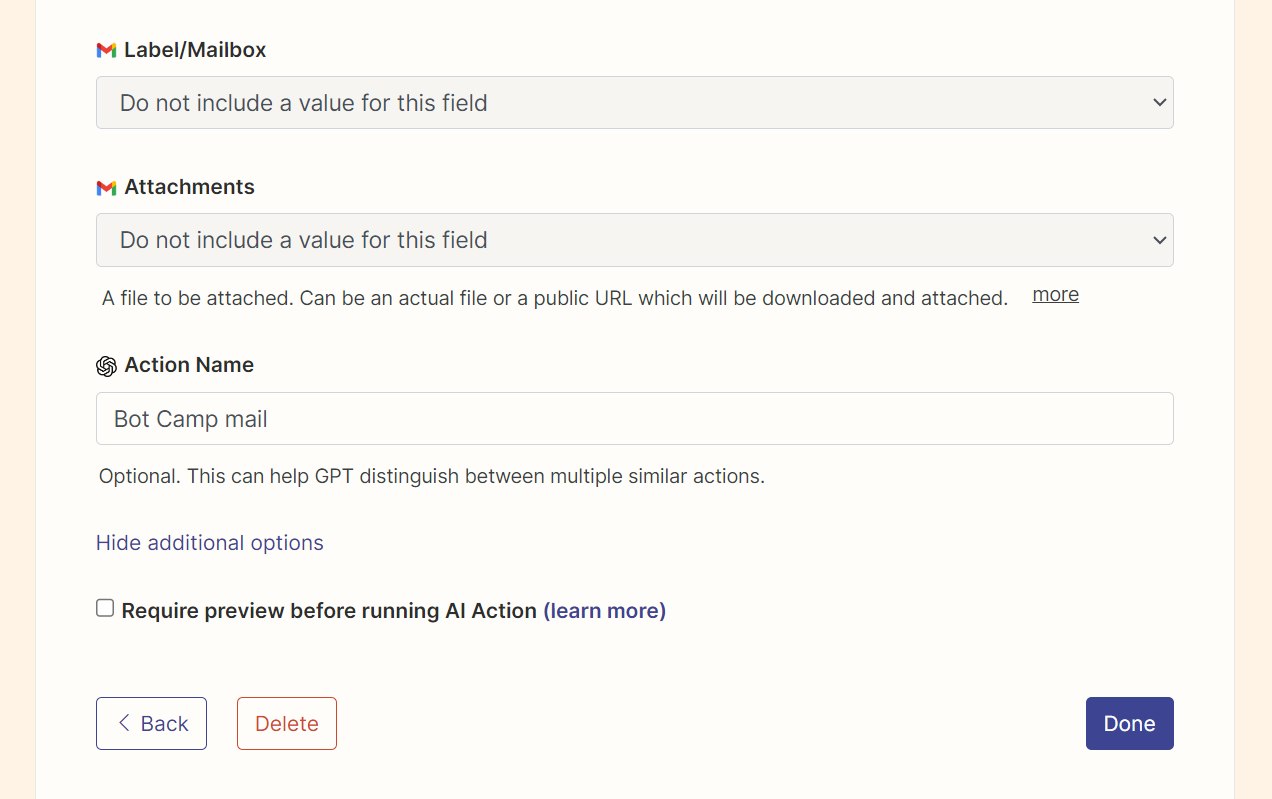
AI Actions Zapierのアクション追加画面から、「Show all optipns」を選択します。
「Configure」画面の「Instructions」で入力する「Action Name」を入力し、「Enable action」をクリックします。
このとき、「Action Name」と「ページのURL」はコピーしておいてください。
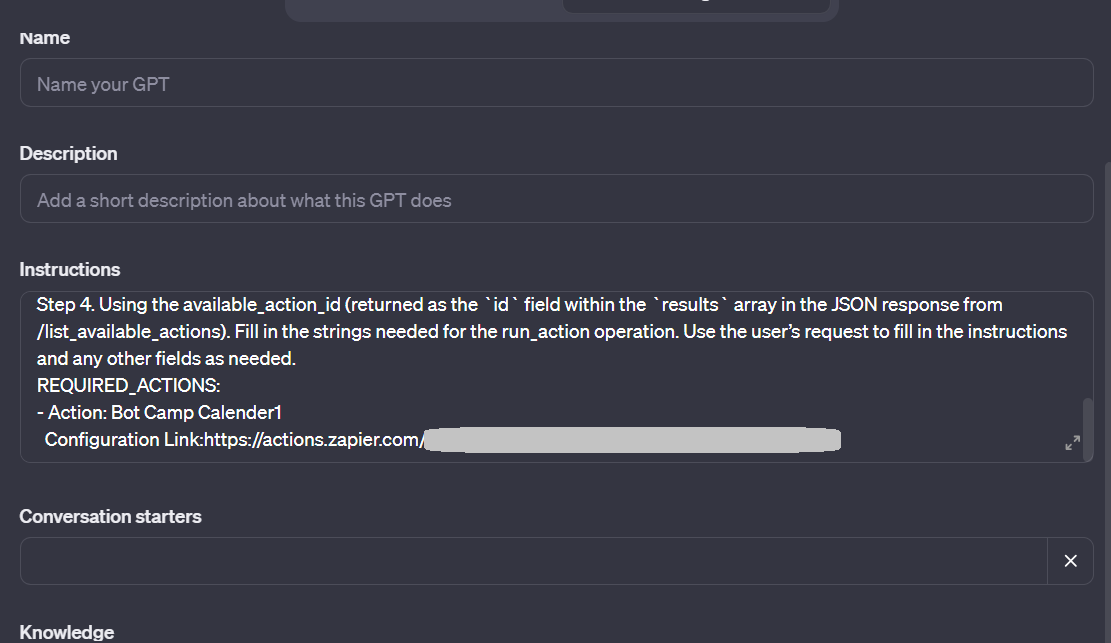
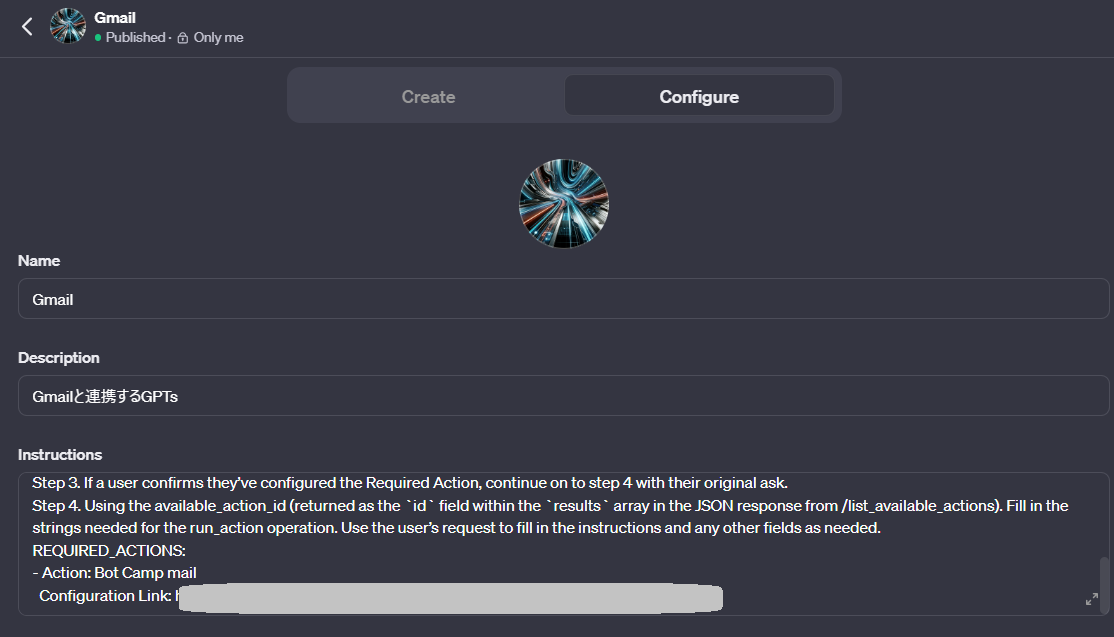
ChatGPTの「Configure」画面に戻り、コピーしたAction NameとURLを「Instructions」に貼り付けます。
このとき、「REQUIRED_ACTIONS:」より下の段に以下のように入力します。
REQUIRED_ACTIONS:
-Action: アクション名
Configuration Link: アクションページのURL
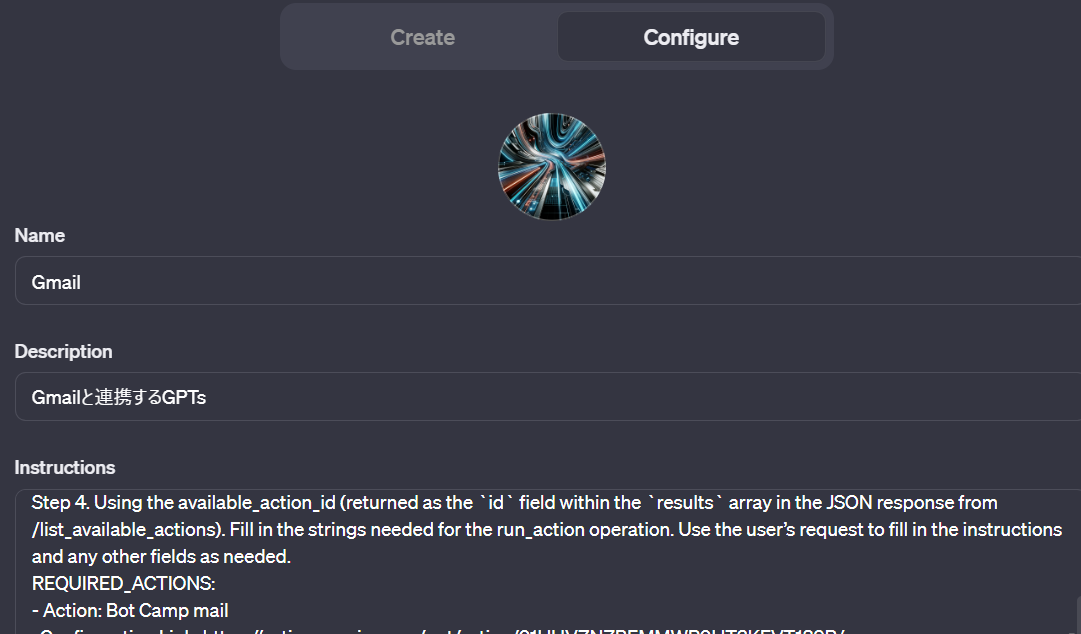
このまま「Configure」画面で以下の項目を入力し、アイコンを作成しておきましょう。
Name:GPT名
Description:GPTの説明文
Instructionsの上部:作成したインストラクションの内容を外部に漏らさないよう念のために注意文を入れる。
STEP3:作成したGPTsの共有設定を行う
My GPTs画面の右上の「Save」をクリックします。
「Publish to」の以下の3つの中から1つを選択し、「Conform」をクリックしてください。
・Only me:自分だけに公開する
・Only people with a link:リンクのURLを知っている人のみに公開する
・Public:一般公開する

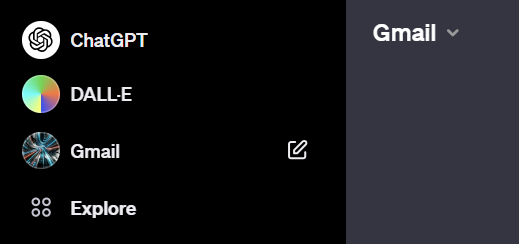
共有設定が完了すると、ChatGPTのホーム画面から対話が可能です。
Gmailと連携したGPTsでメールを自動返信する方法
Gmailと連携したGPTsで、メールを自動返信する方法を解説します。
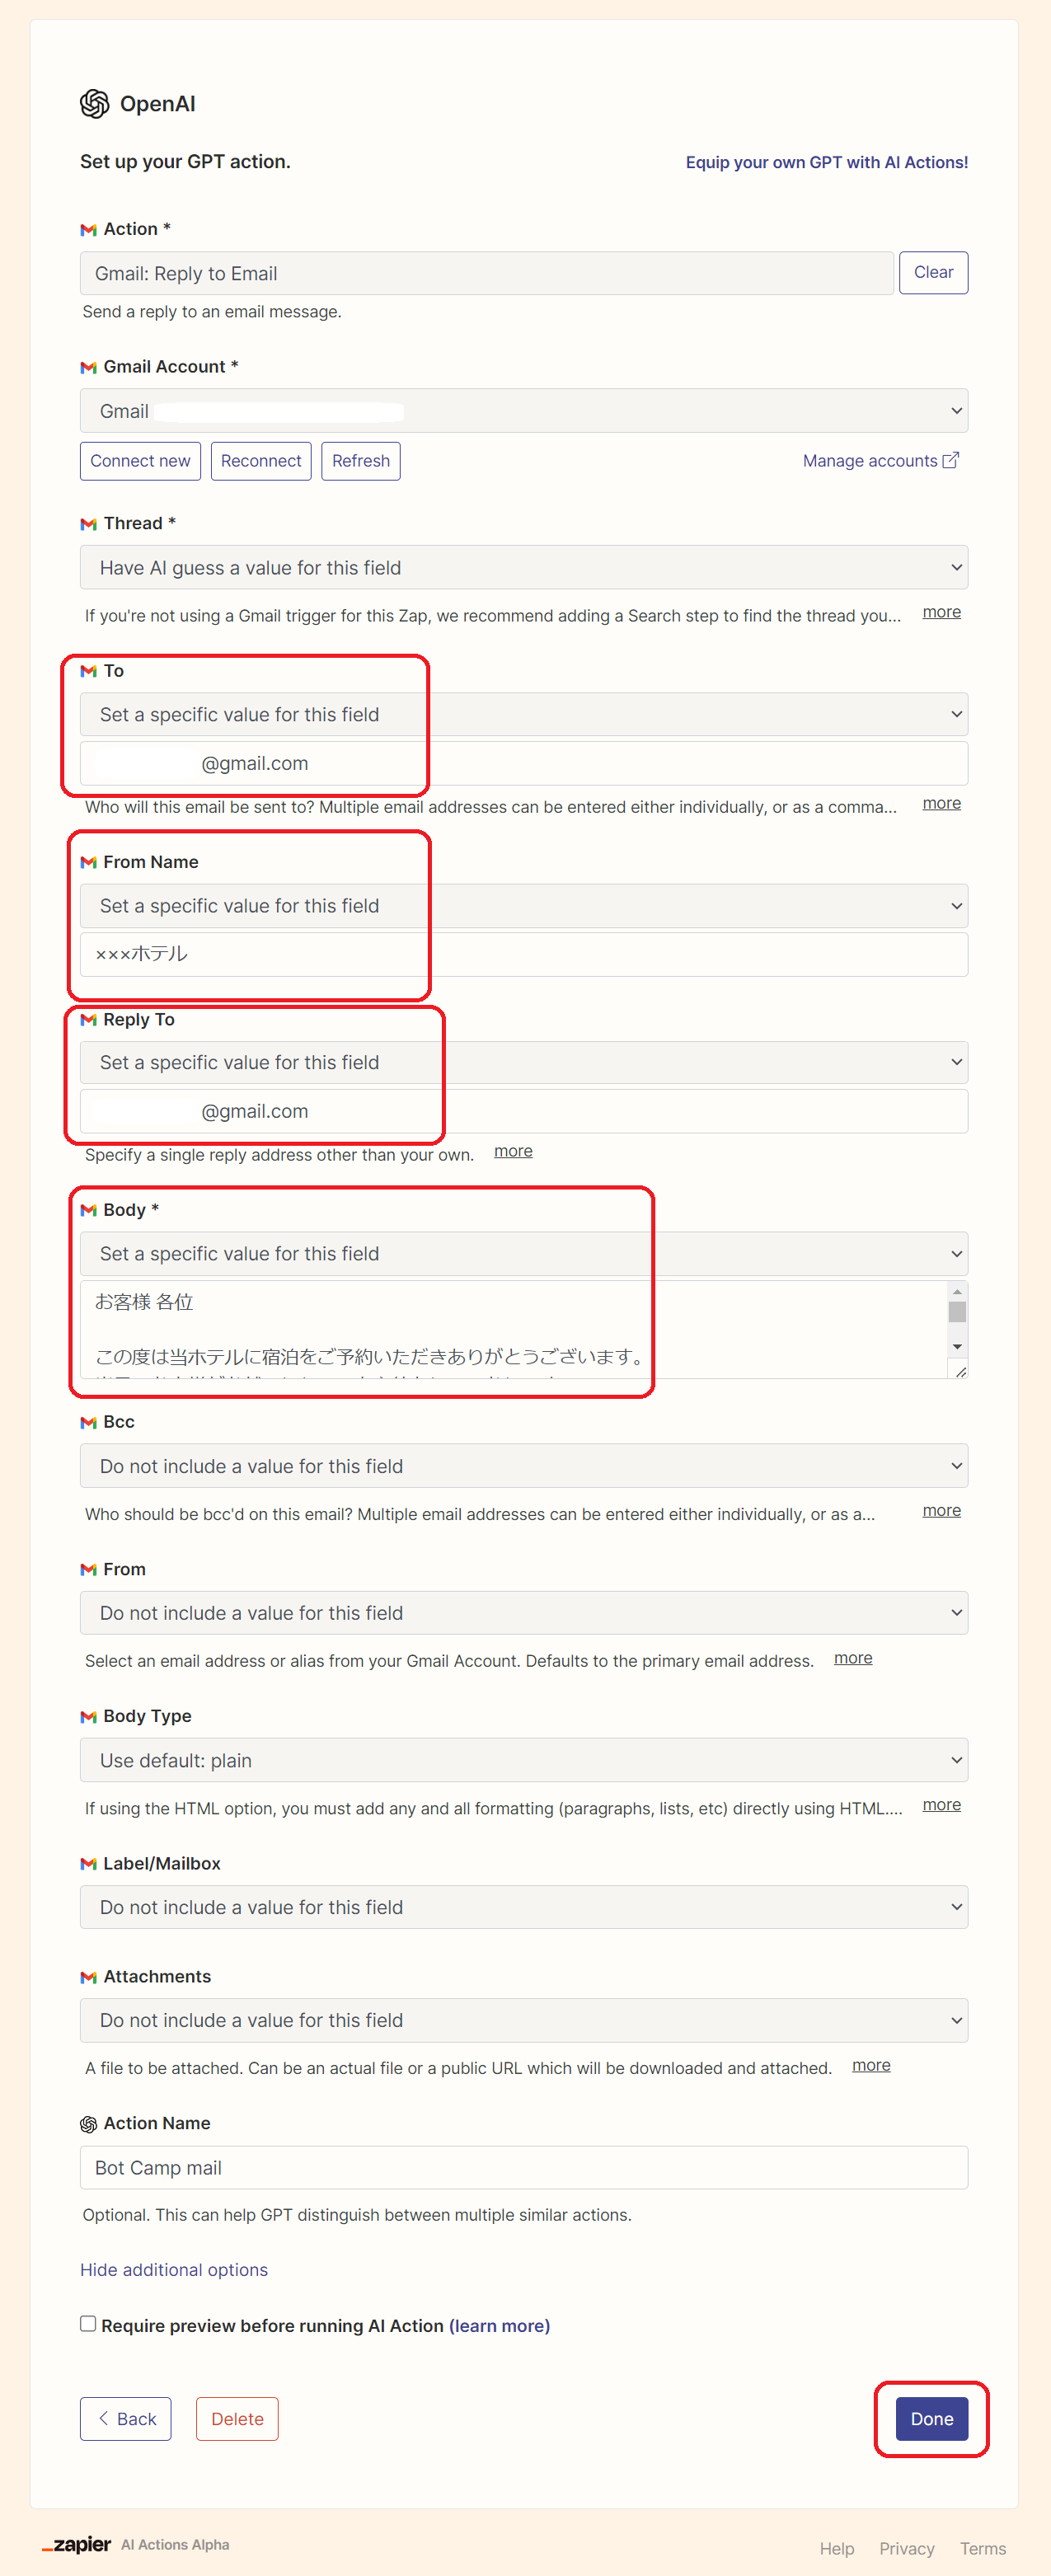
AI Actions Zapierのアクション追加画面から、希望する機能を開いて必要な設定を行います。
今回は、以下の項目を設定しました。
To:メールの宛先
From Name:
Reply to:メールの返信先
Body:メールの内容
アクション追加画面の「Action Name」と「ページのURL」をコピーします。
ChatGPTの「Configure」画面に戻り、コピーしたAction NameとURLを「Instructions」に貼り付けます。
このとき、「REQUIRED_ACTIONS:」より下の段に以下のように入力します。
REQUIRED_ACTIONS:
-Action: アクション名
Configuration Link: アクションページのURL
My GPTs画面の右上の「Save」をクリックし、設定を保存します。
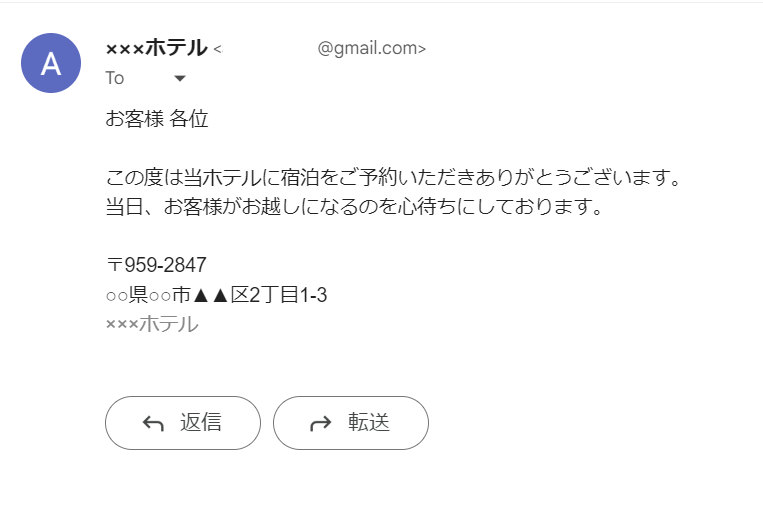
設定の完了後、以下のように指示すると自動でメールを返信してくれました。
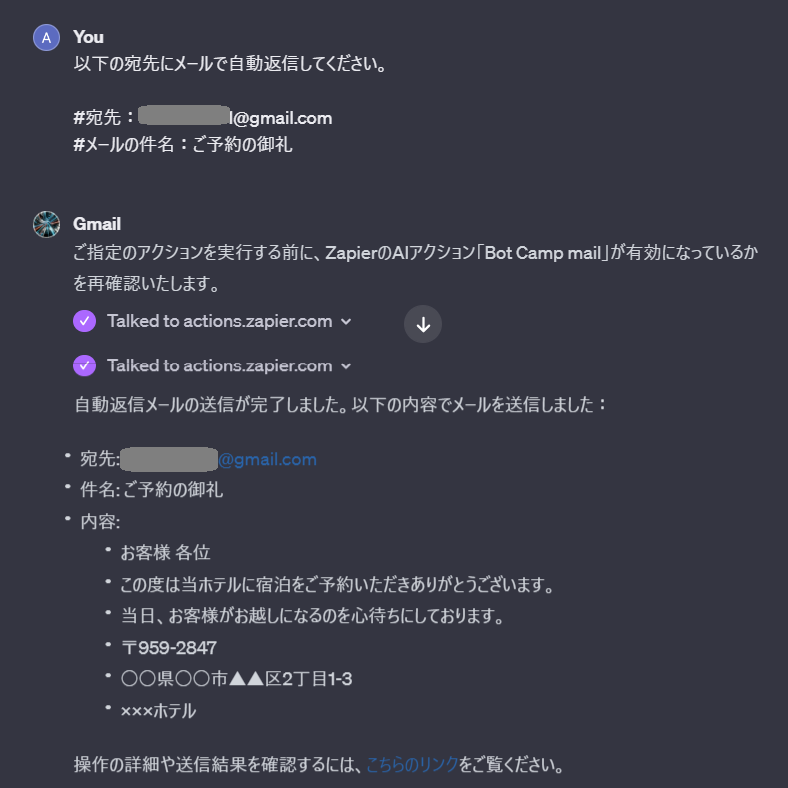
リンクにアクセスすると、以下のような確認画面が表示されました。

また、Gmailを開いてみると、実際にメールが返信されていました。
ZapierにはGmail内のメールを検索できる、連携機能もあります。
気になる方はぜひ使ってみてください。
ChatGPT研修「BotCamp」の特徴

わたしたちが提供する「BotCamp」は、ChatGPT研修の使い方を初心者から学べる研修です。
・日々登場する新しいAIツールやGPTsに、インプットが追いつかない
・AIツールの選択肢が多すぎて、自分にとって最適なツールを見つけられない
・生成系AIが仕事にどう役立つのか、あまりイメージできない
・すでに業務にAIを取り入れているが、使い方が適切なのかわからない
・時間をかけて学習しても、投資対効果がよいのか分からない
・プロンプトエンジニアリングって難しそう。とっつきづらく感じている
このようなお悩みをお持ちの方におすすめです。
BotCampの特徴1:プロンプトを難しく考えずシンプルに捉える
生成AIからのアウトプットの質を高めるコツは、指示文を「端的に・具体的に」書くことです。
だらだらと長く書く必要はありません。プログラミングやシステムエンジニアリングのように、用語めいた難しい言葉を使う必要も一切ありません。
「プロンプトエンジニアリング」と聞くとやや学術的で高度な技術的理解が必要な印象を受けるかもしれませんが、Prompt Simpleという考え方で、誰でも最小限の労力で最大限AIパワーを活用する方法をお伝えします。
BotCampの特徴2:便利なGPTsを厳選して紹介
GPT storeにて日々増え続ける膨大なGPTsのうち、業務改革のインパクトが大きく重要なGPTsを厳選して紹介します。
業務の種類ごとに、どのGPTを使うべきか自分で考え判断できる応用力を身につけることができます。
BotCampの特徴3:Advanced Data Analysis(旧Code Interpreter)で「一億総データサイエンティスト」に
CSV、PDFなどのデータをアップロードした上で、ChatGPT上でPythonのコードを生成・実行できる機能「Advanced Data Analysis」を活用し、高度な専門性がなくても誰もがデータサイエンティストのようなモデル作成、データの予測ができるようになります。
BotCamp開催概要
| 開催日程 | 研修内容ページを確認 |
| 研修時間 | 9:00~17:00もしくは10:00-18:00 |
| 開催形式 | 対面のみ(オンライン参加不可) |
| 会場 | 水道橋開催の場合 コンフォート水道橋 東京都千代田区神田三崎町2-7-10 帝都三崎町ビル 2階,5階 https://www.relo-kaigi.jp/comfort-suidoubashi/access/ 神田開催の場合 BIRTH KANDA 東京都千代田区神田錦町1-17-1 神田髙木ビル7F https://birth-village.com/ |
| 備考 | ・ChatGPT(GPT-4)が入ったWindowsPCをお持ちください ・推奨のOSはWindowsです。Macでの受講はご遠慮ください。 ・セキュリティ上ChatGPTが使えないPCでの受講はご遠慮ください。 |